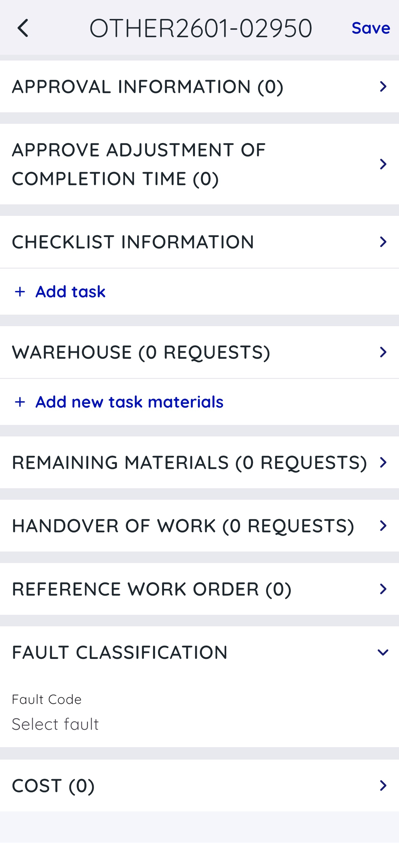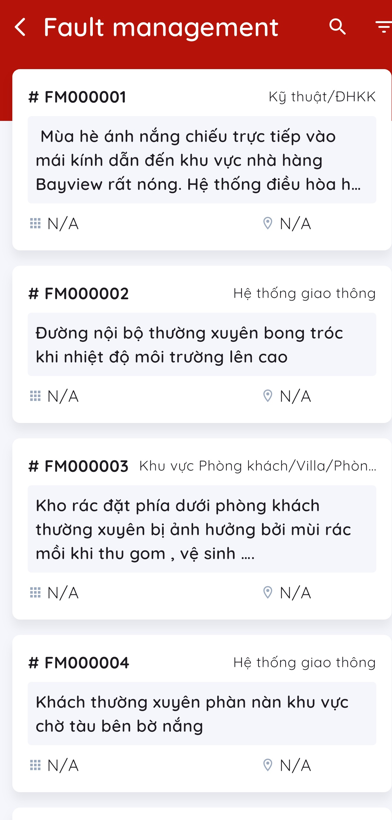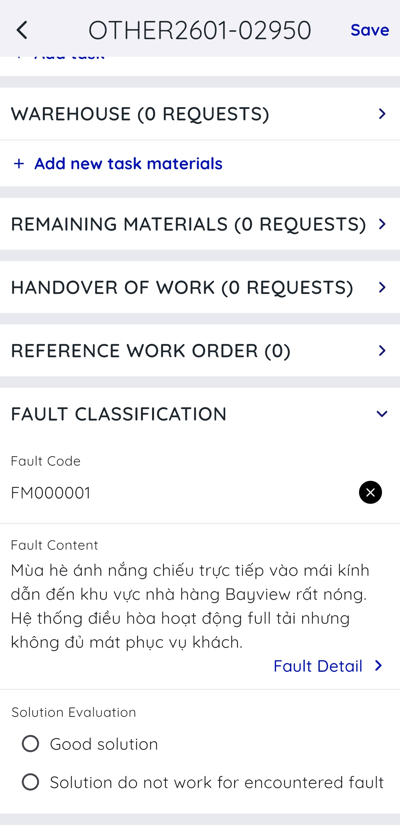
1. View work orders list
-
Purpose: To support phone users in viewing a list of work orders and tasks assigned to the current user or department.
-
To view a list of assigned work orders and tasks for the current user or department, follow these steps:
Step 1: Open the CiAMS application and log in to the system.
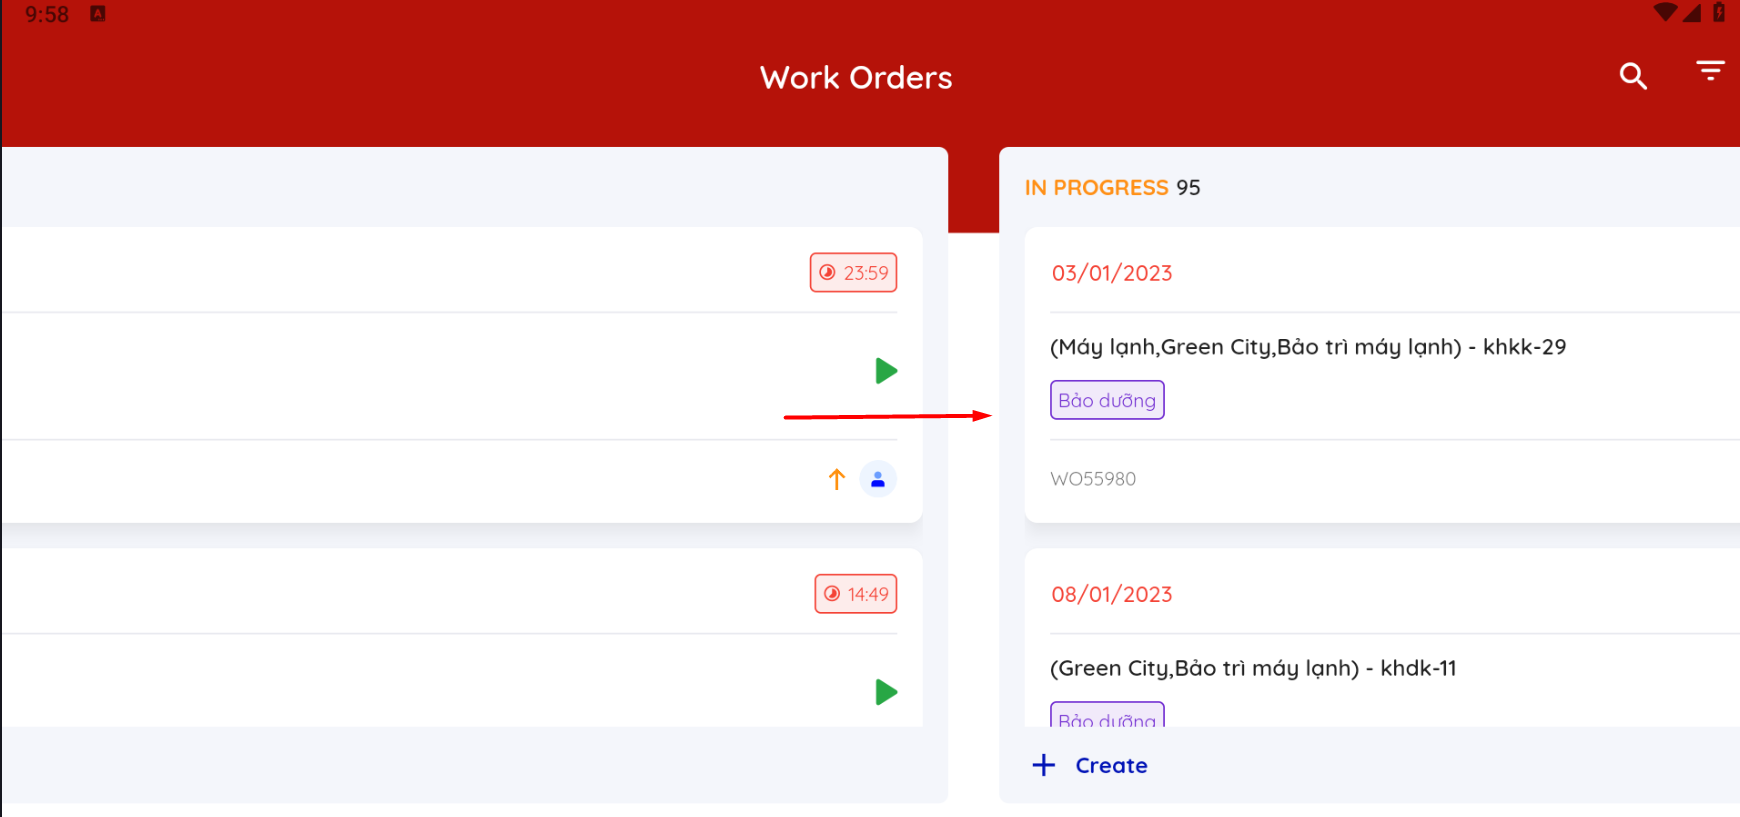
Step 2: On the home screen, select the "Task" or "Maintenance" section to view a list of tasks in the "New" status.
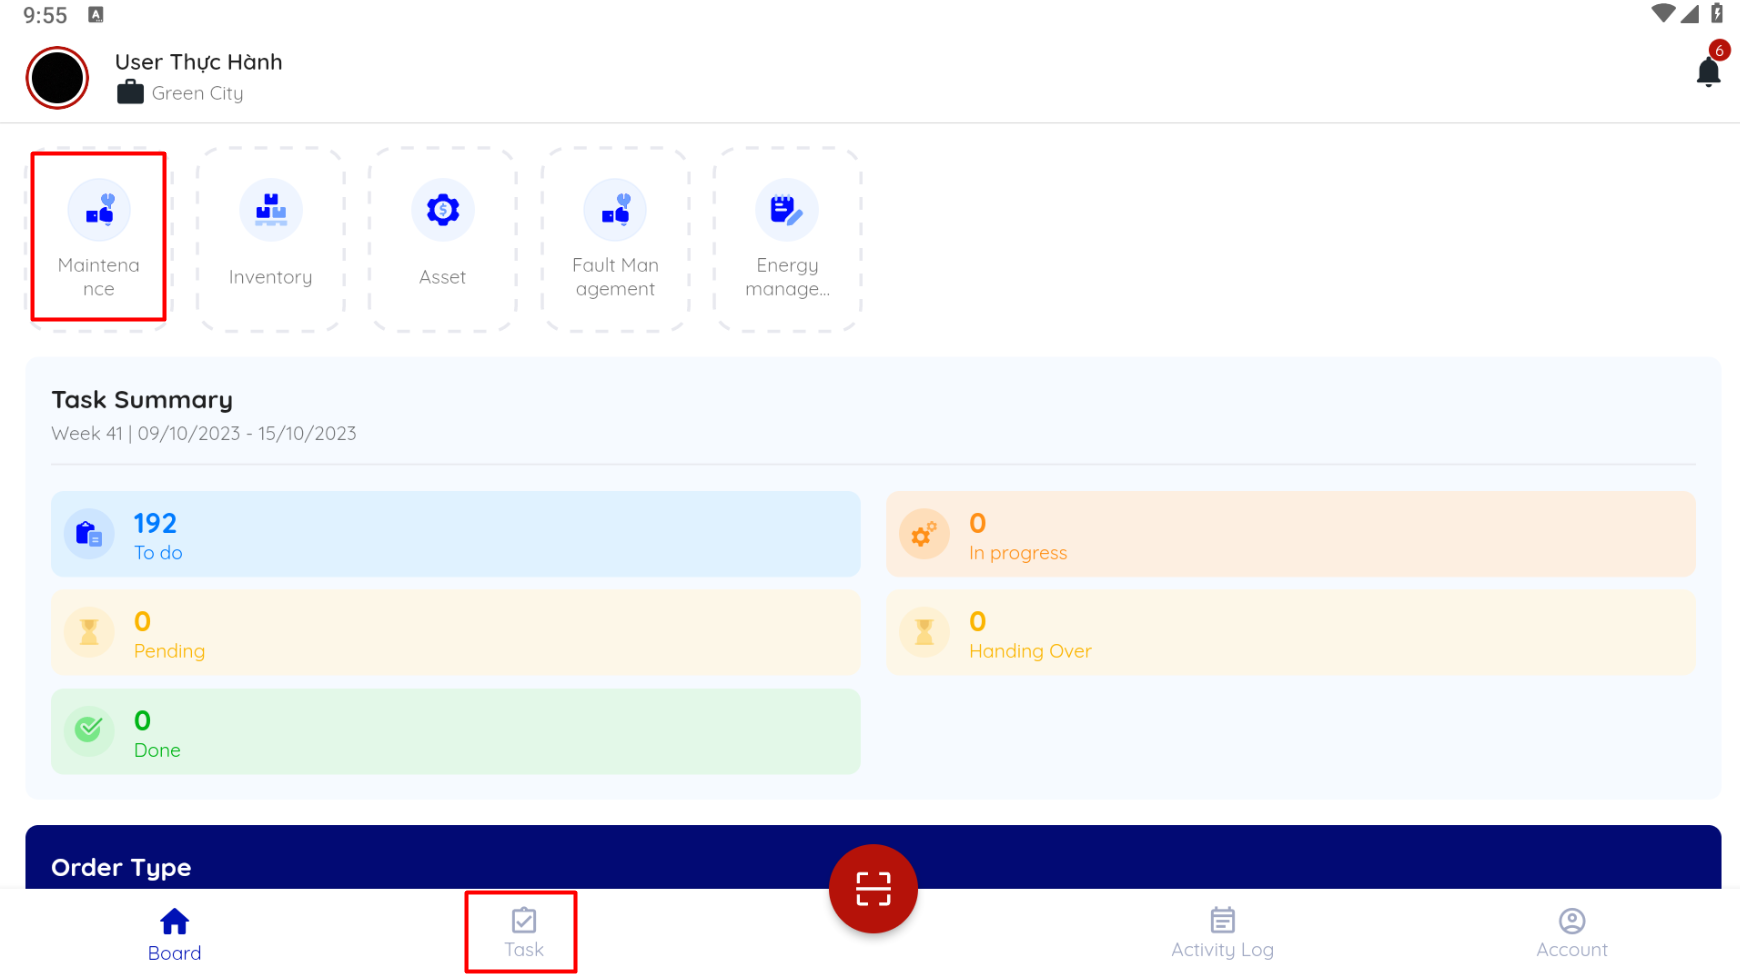
Step 3: Swipe the screen to the left or right to view the details of tasks in progress, paused, completed, canceled, or closed.
2. Create a work order
-
To create a work order, follow these steps:
Step 1: Open the CiAMS application and log in to the system
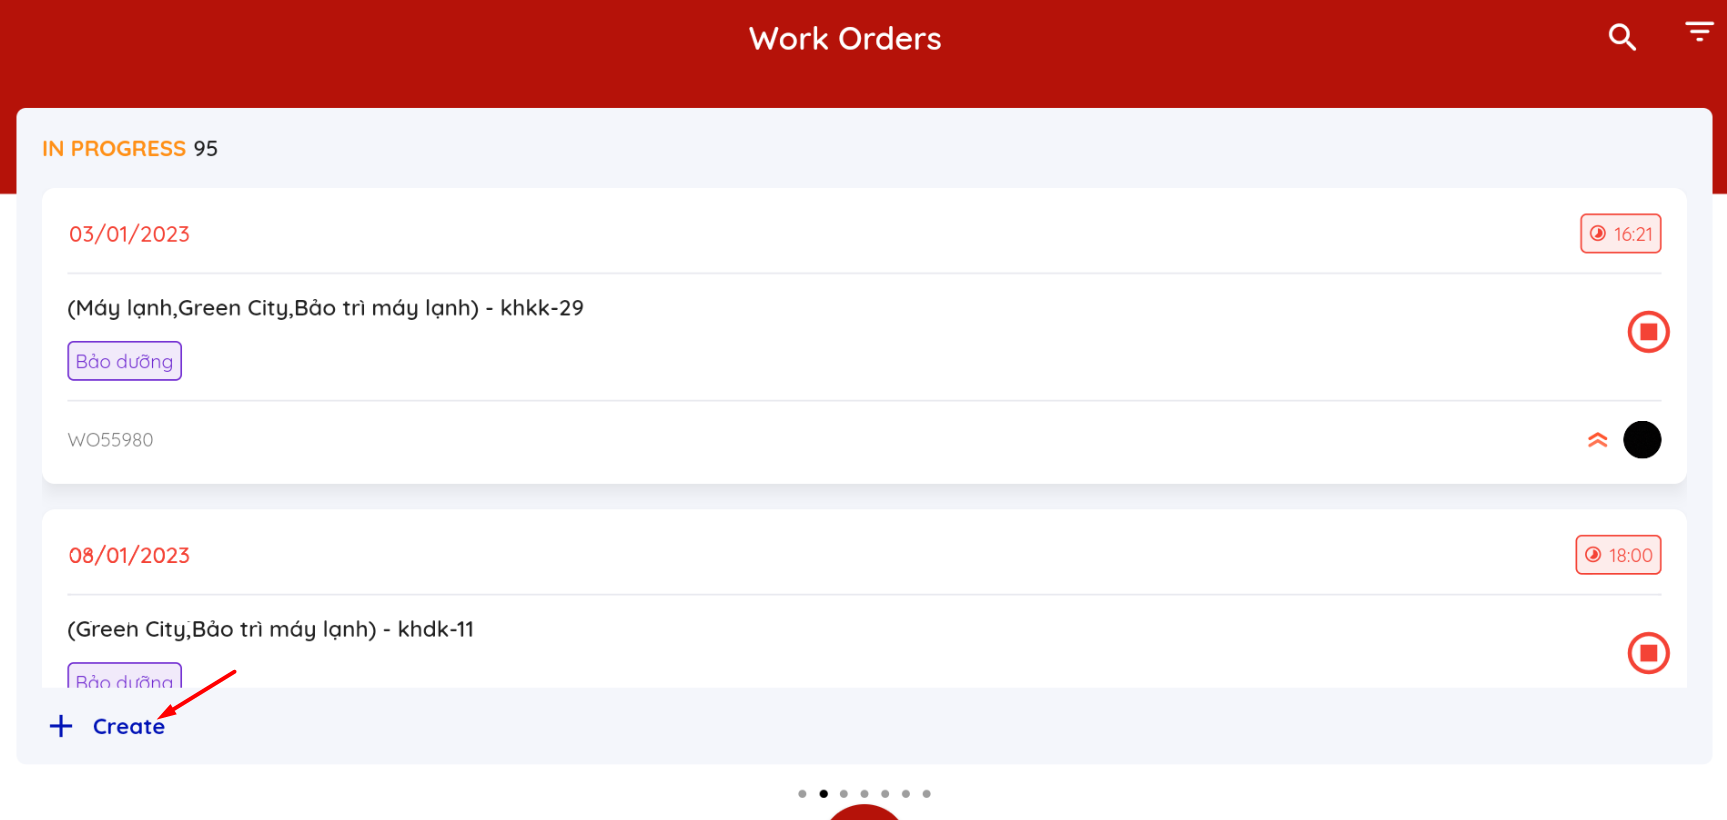
Step 2: On the "Task” screen, select "Create" to create a work order.
Step 3: Fill in the necessary information. Click the "Create" button to create the work order
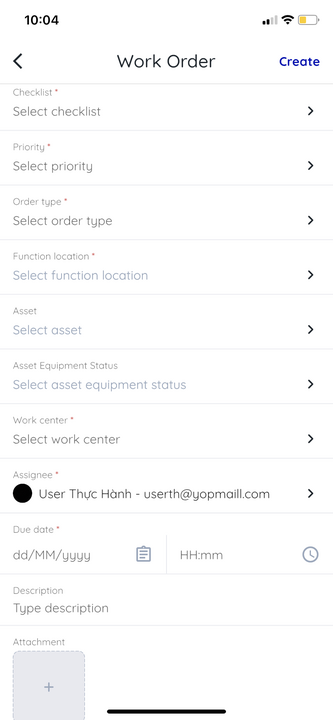
On the work order creation screen, the following information can be entered:
-
Checklist: Select the name of the checklist to be performed.
-
Priority: Select the priority level for the work order.
-
Order type: Select the type of work for the work order.
-
Functional location: Select the functional location where the work will be performed.
-
Asset: Select the asset or equipment if the work order is related to it.
-
Work Center: Select the department that will handle the work order.
-
Assignee: Depending on the facility's process, this may or may not be selected (to allow the department to self-assign).
-
Due date: The time frame for completing the work.
-
Description: More detailed requirements if available.
-
Related requests: Select related requests for the work order being created.
-
Attachments: Attach relevant images, which can be selected from the image library or taken directly from the field.
2.1 Create subtasks within a work order
-
Purpose: To support department managers in dividing work according to workload or job characteristics for different personnel to perform.
-
To create subtasks within a work order, follow these steps:
-
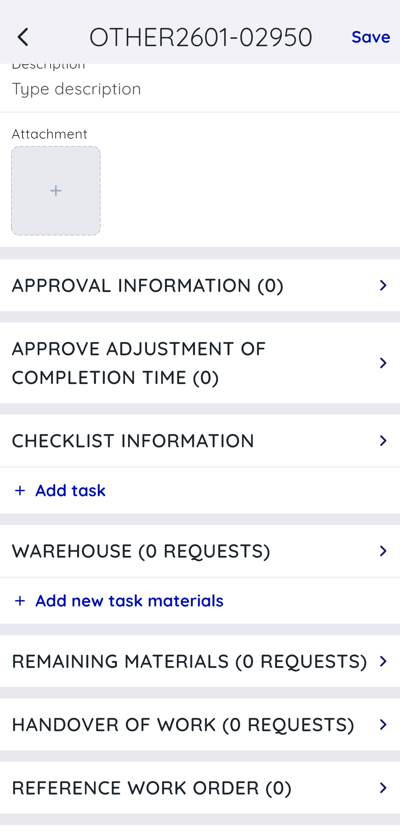
After creating the work order, go to the work order details screen.
-
Scroll down and click on the "Add task" button.
-
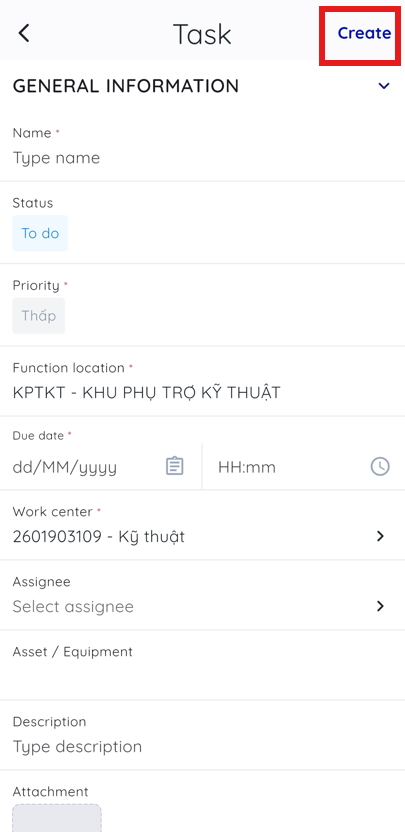
Enter the necessary information for the subtask, such as the Type name, priority level, description, due date, and any other relevant details.
-
Click the "Create" button to create the subtask.
-
→ After successfully creating a subtask, the user will be automatically redirected to the previous work order screen, and the newly created subtask will be displayed in the "CheckList Information" section.
2.2 Create a Material Request / Return Remaining Materials
Purpose: To create a request for materials needed to repair PGV assets and return any surplus materials remaining after the repair is completed.
Steps to Perform
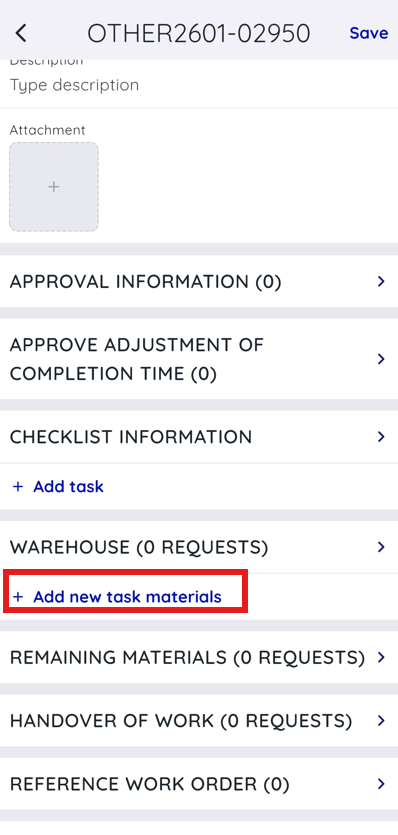
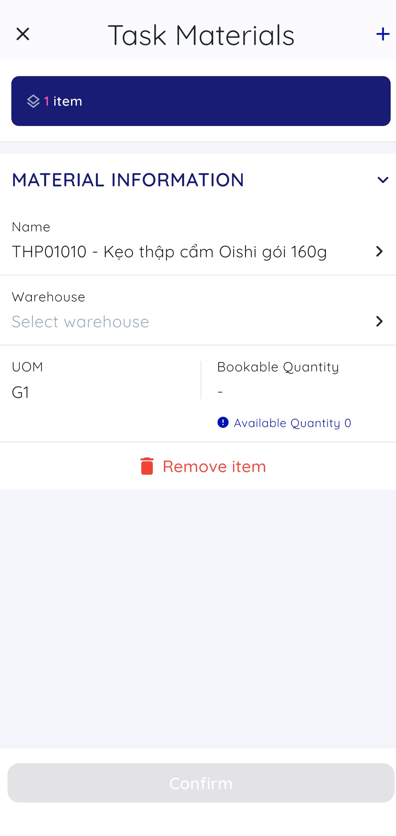
Step 1: After creating the Work Assignment, open its details screen, scroll down, and click Add Form.
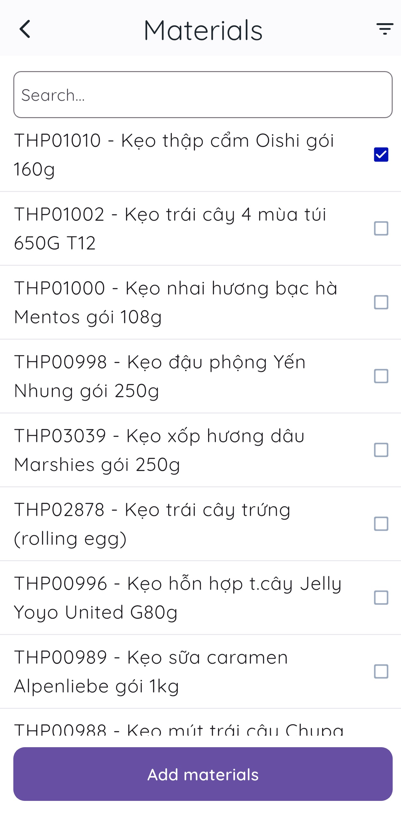
Step 2: Enter all required information, including the material types, quantities, and corresponding warehouse codes. Then submit the request for approval.
Step 3: Once the management approver accesses the request in the approval system, the system will display the material request code. The user can then collect the materials and confirm receipt. The system will deduct the corresponding quantities from Inventory Management.
Step 4: After completing the asset repair, create a material return request, close the Work Assignment, and return any remaining materials to the warehouse.
After selecting Complete on the Work Assignment, the system will display a notification screen prompting the user to enter the quantities of remaining materials and select the warehouse to which they will be returned. The user then creates a material receipt form. Once the warehouse receipt form has been created, select the confirmation option to confirm the return of the materials to the warehouse.
2.3 Work Handover
Purpose: To view information about the handover of an ongoing task from the current assignee (A) to a new assignee (B). Work can only be handed over when the Work Assignment is in In Progress status.
2.4 Issue Classification
Steps to Perform
Step 1: Select Related Requests to navigate to the issue list screen.
Step 2: Select and apply the appropriate issue classification. Then indicate whether the proposed solution resolves the issue for the related Work Assignment. If it does not, select “Solution do not work for encountered fault”