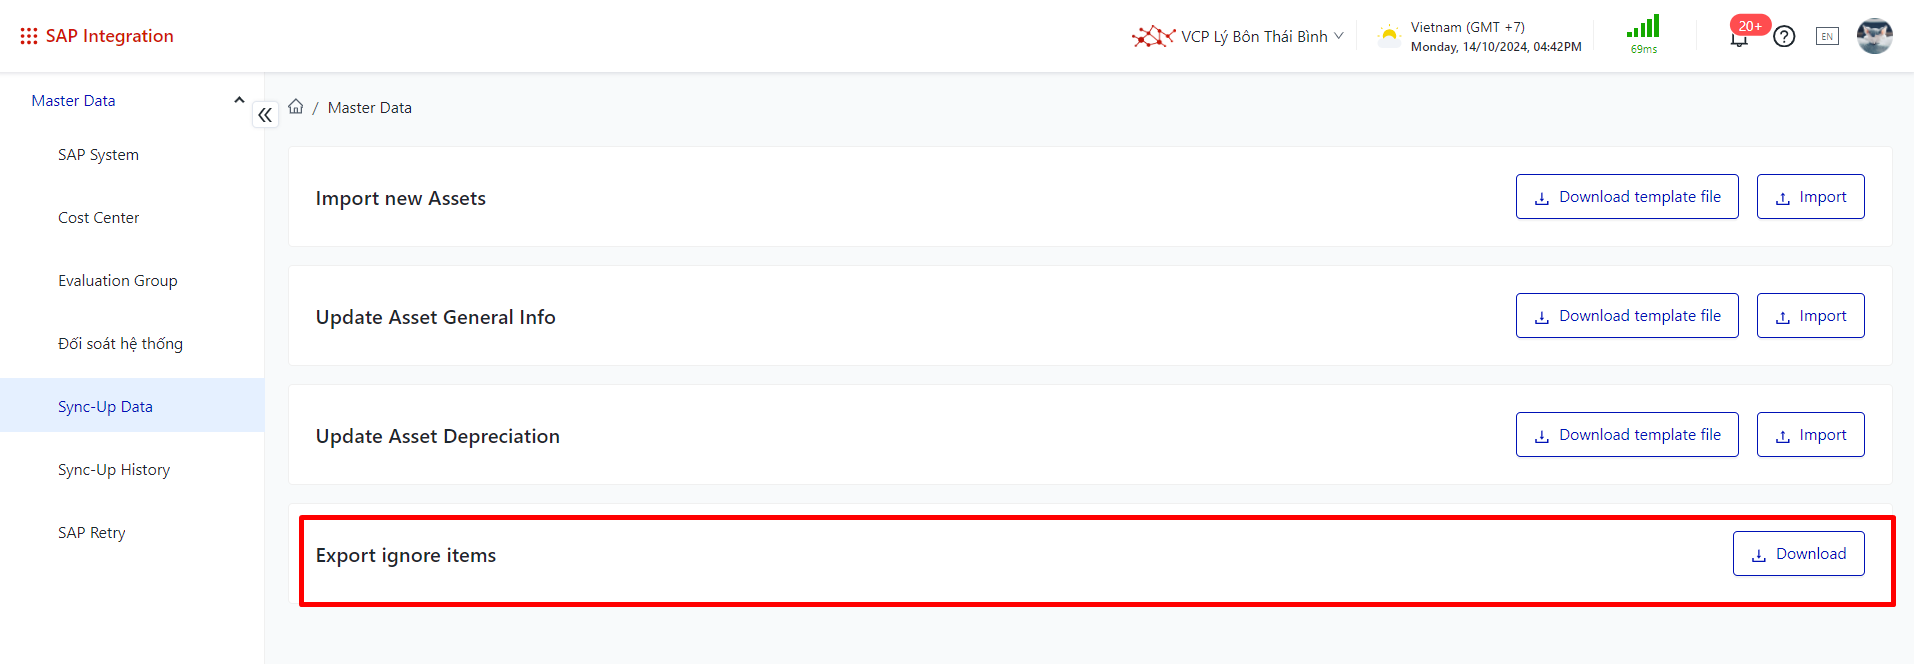
Login – SAP Integration – Master Data – Sync Up Data
Summary
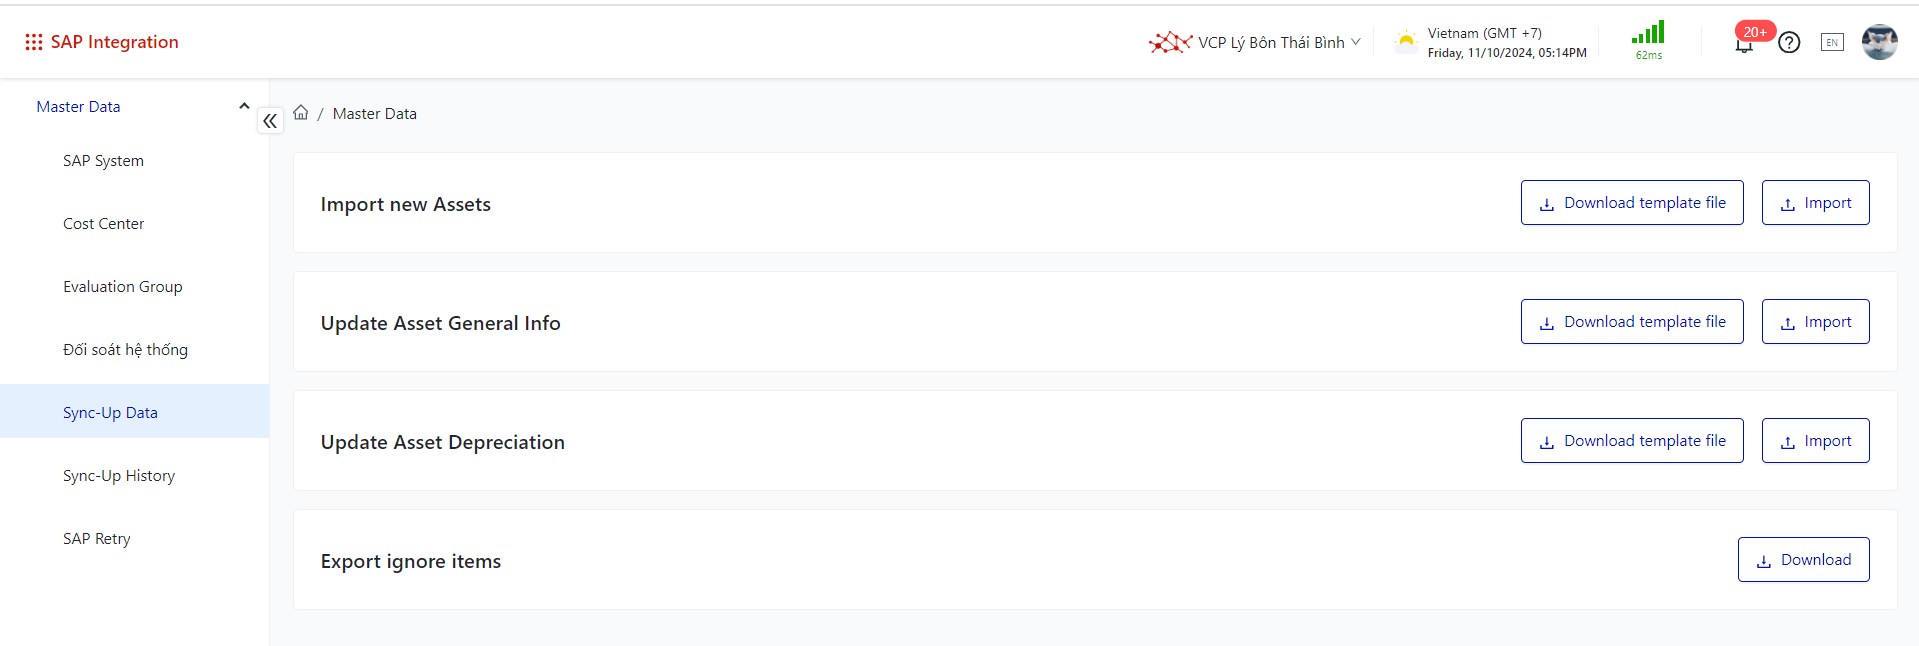
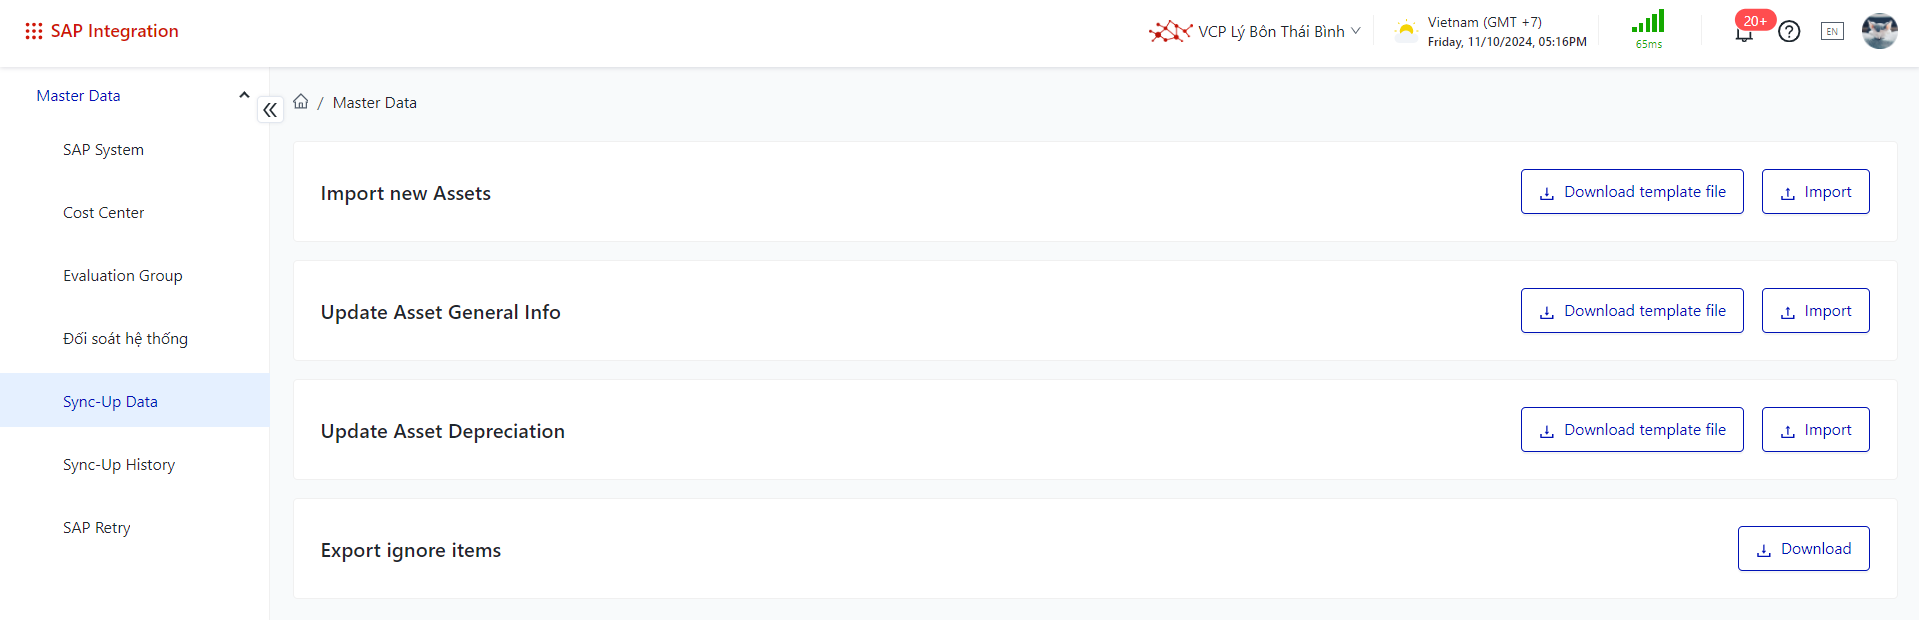
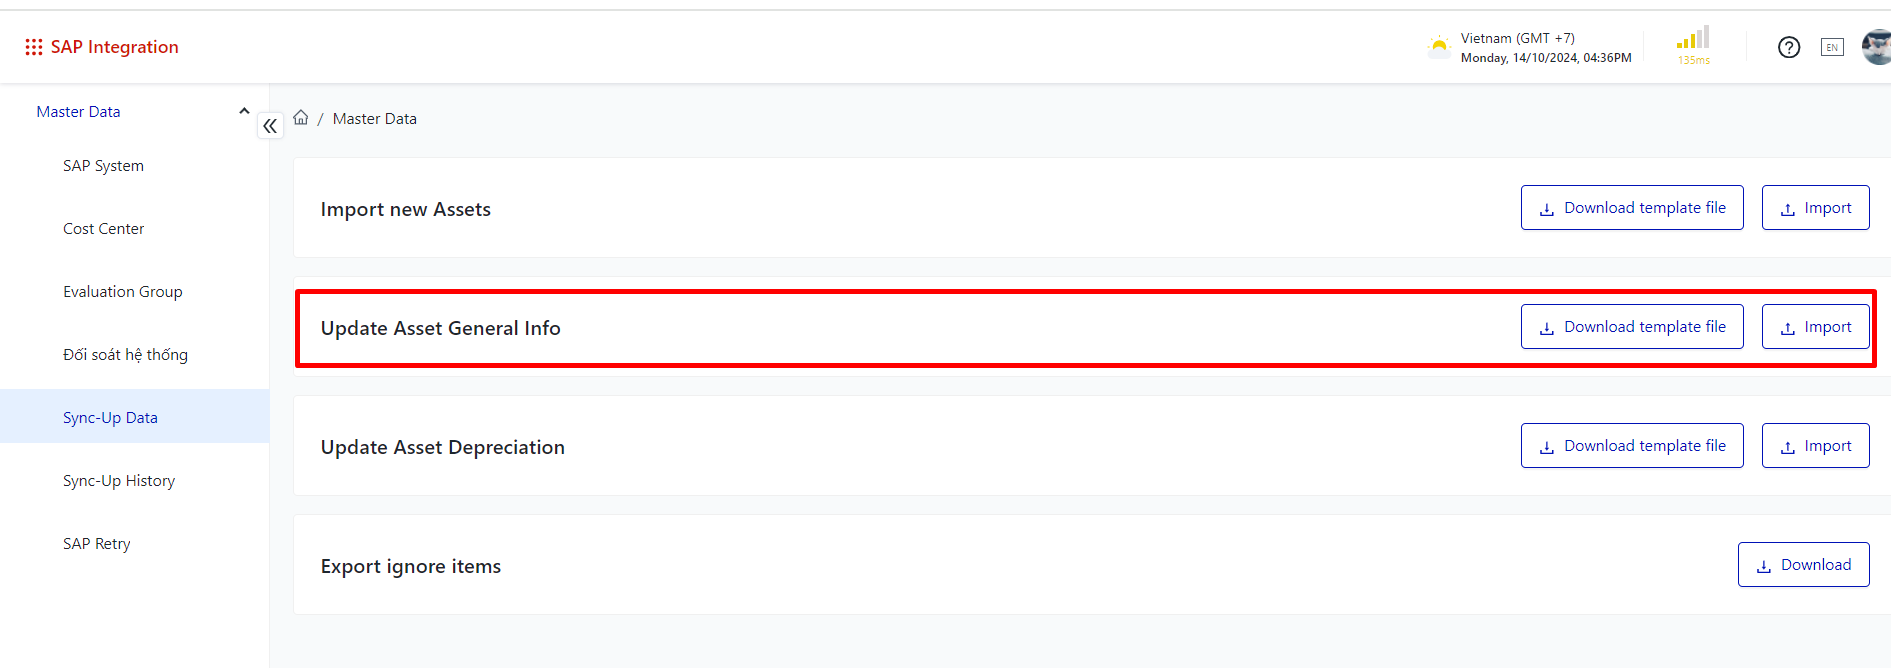
The screen displays templates for creating and updating information for assets synchronized with SAP of the facility.
Screen
Fields Description
Main functions
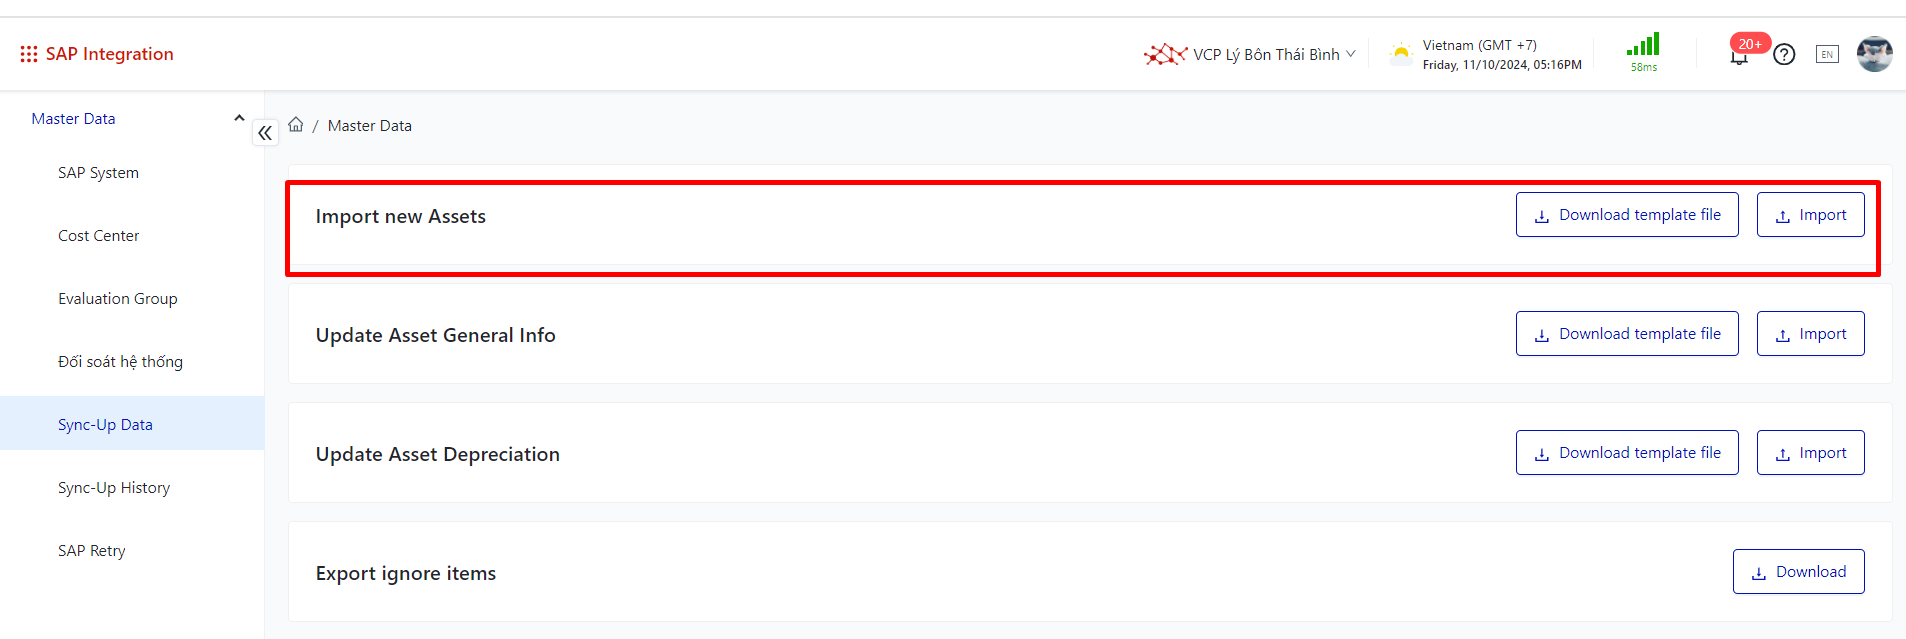
(1) Import new Assets
For assets that are already on SAP but not on CiAMS, users should select "Add new asset set" to create a new asset for CiAMS.
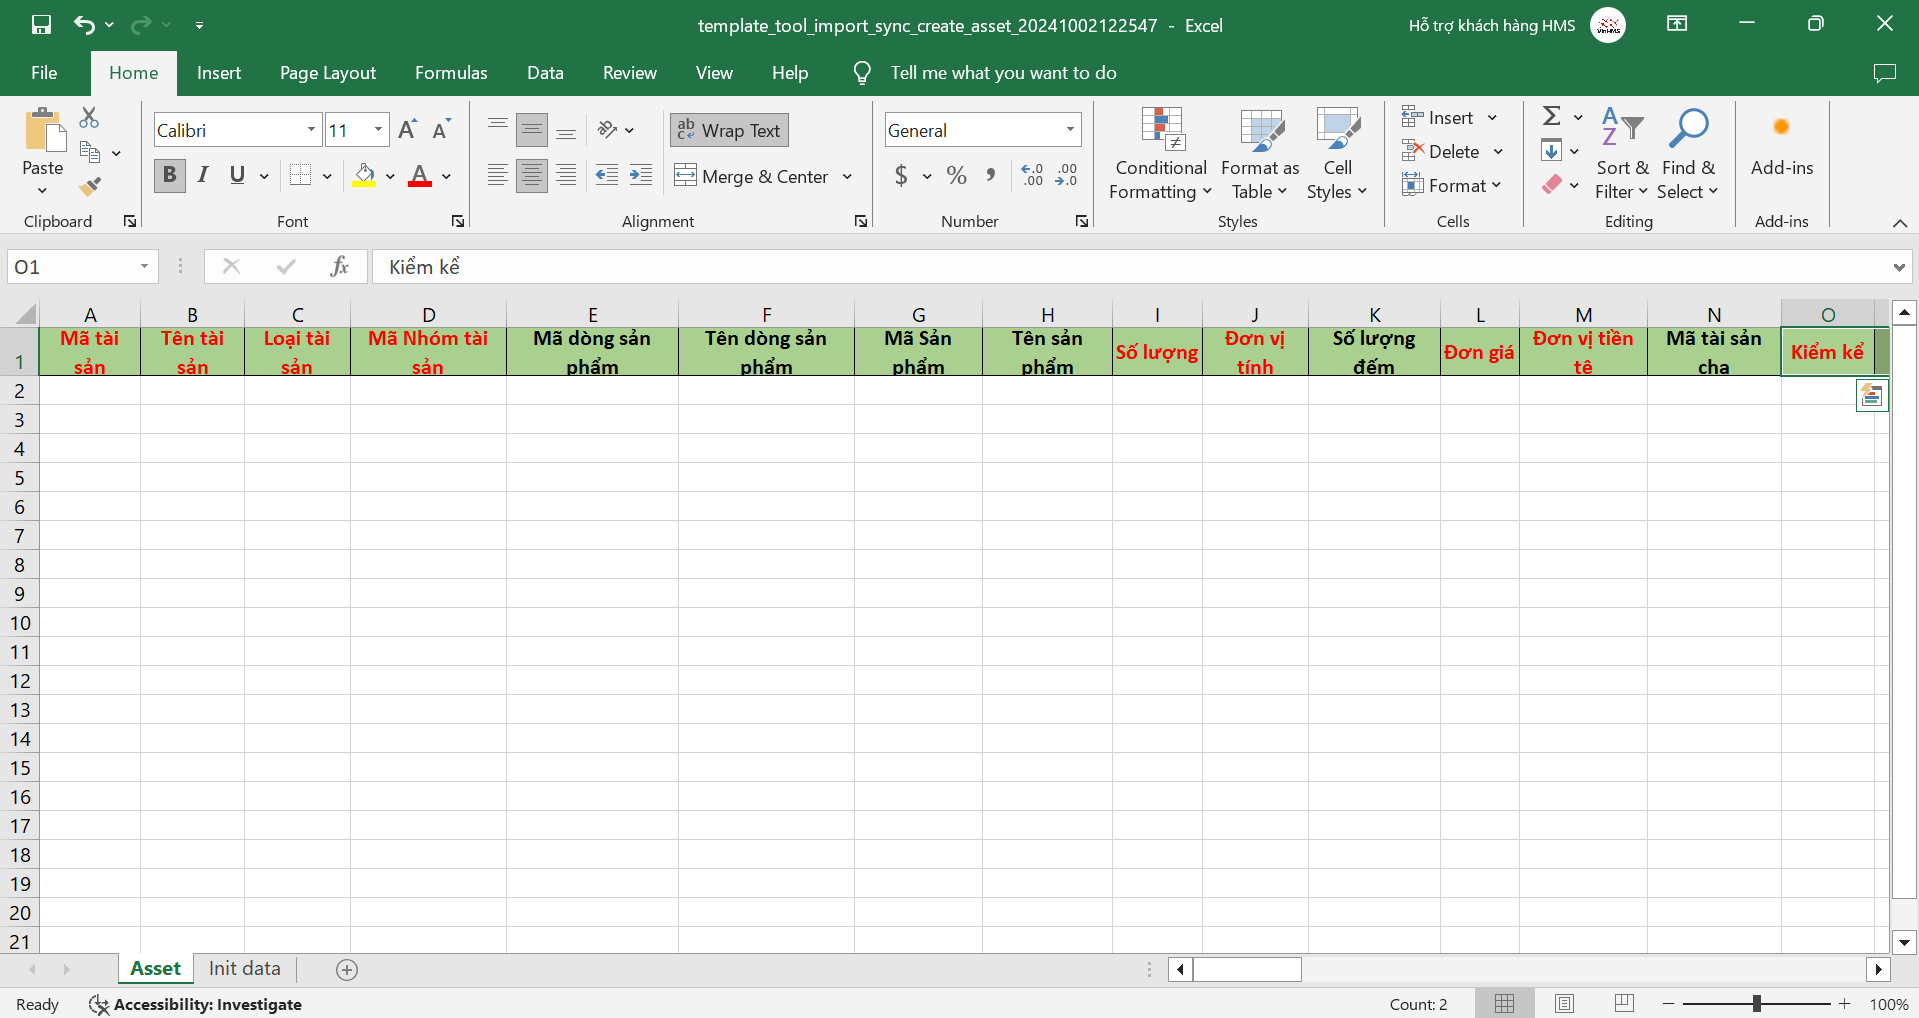
Click on "Download template file," then fill in all the required information in the sample template. Note:all fields marked in red must be completed.
SAP Sub Code: enter 0.
Other columns: fill in according to the information from SAP.
Sync Type: enter "Sync value and quantity."
Inventory/Deferment: enter "YES."
After filling in the information in the template file, users should select "Import" to import it into the system. Note: after importing, the system will send a notification with the results so that users can easily check for errors and then edit the file for re-import.
(2) Update Asset General Info
For assets that are already on both SAP and CiAMS, when it is necessary to update the general information of the asset, users should select "Update Asset General Infor ."
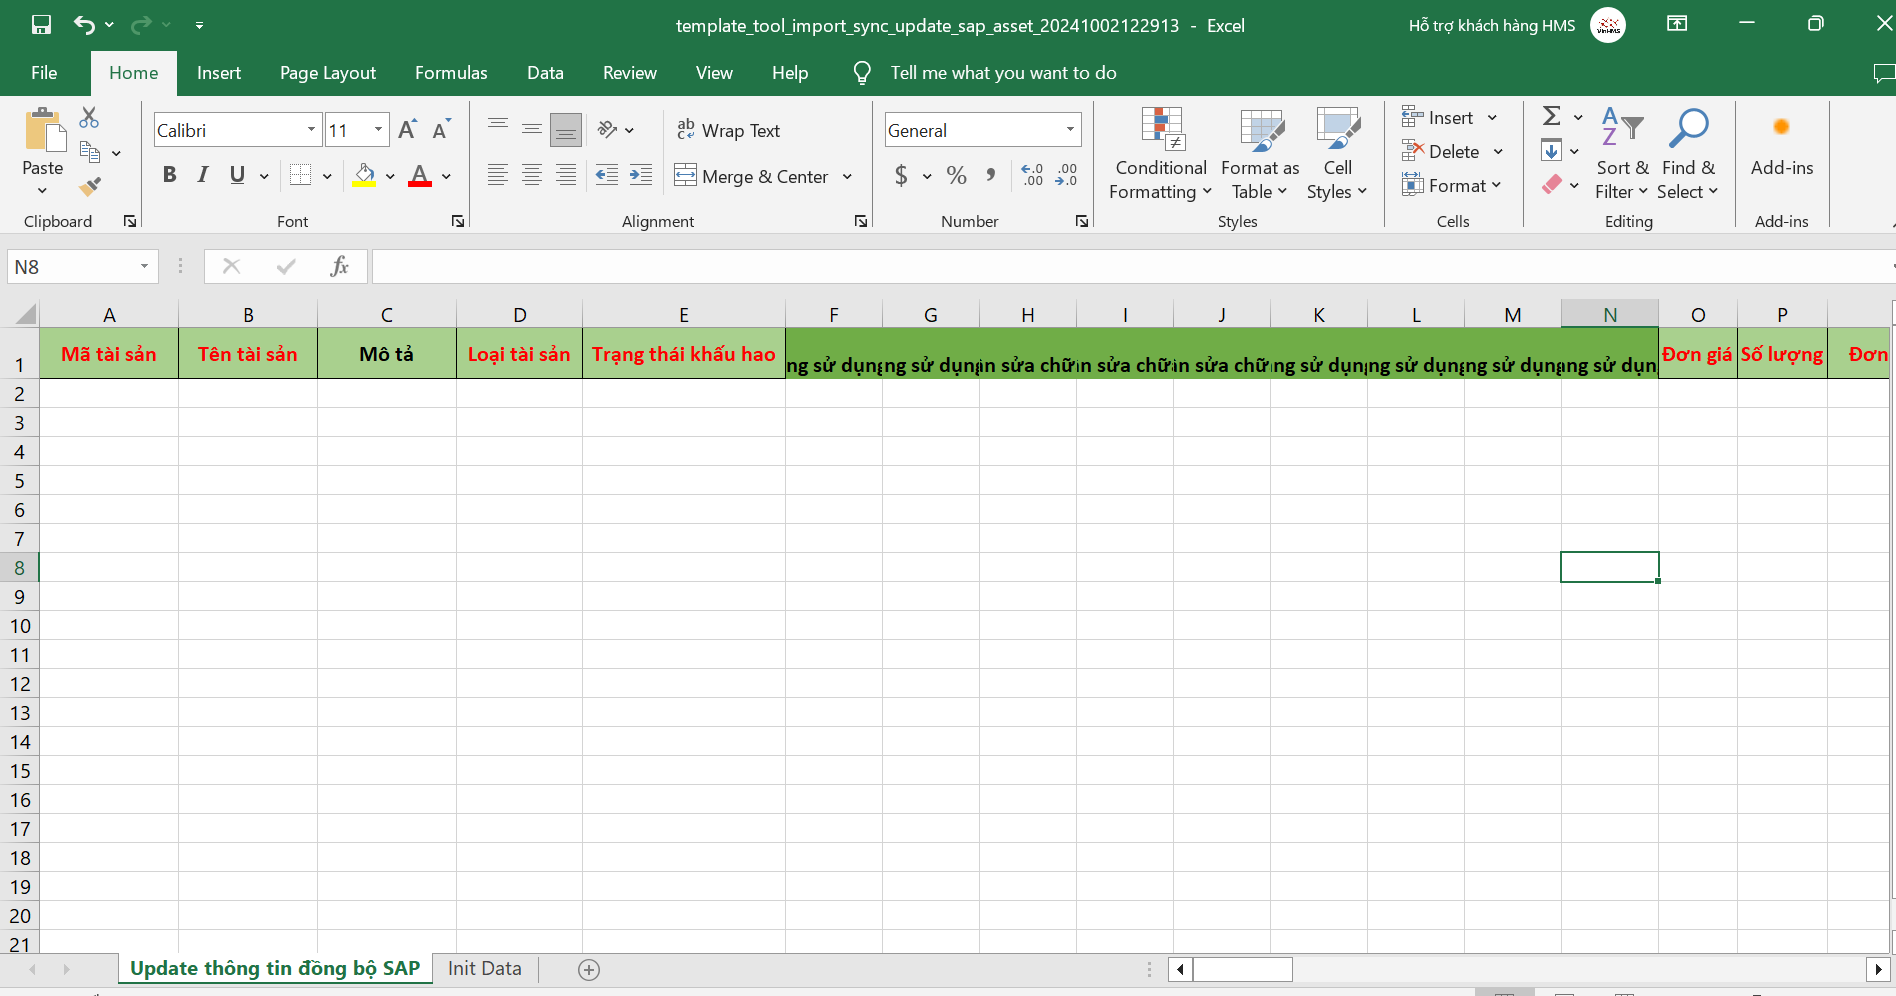
Click on "Download Template File," then fill in all the required information in the sample template. Note: all fields marked in red must be completed.
SAP Sub Code: enter 0.
Other columns: fill in according to the information from SAP.
Sync Type: enter "Sync value and quantity."
Inventory/Deferment: enter "YES."
After filling in the information in the sample file, users should select "Import" to import it into the system. Note: after importing, the system will send a notification with the results so that users can easily check for errors and then edit the file for re-import.
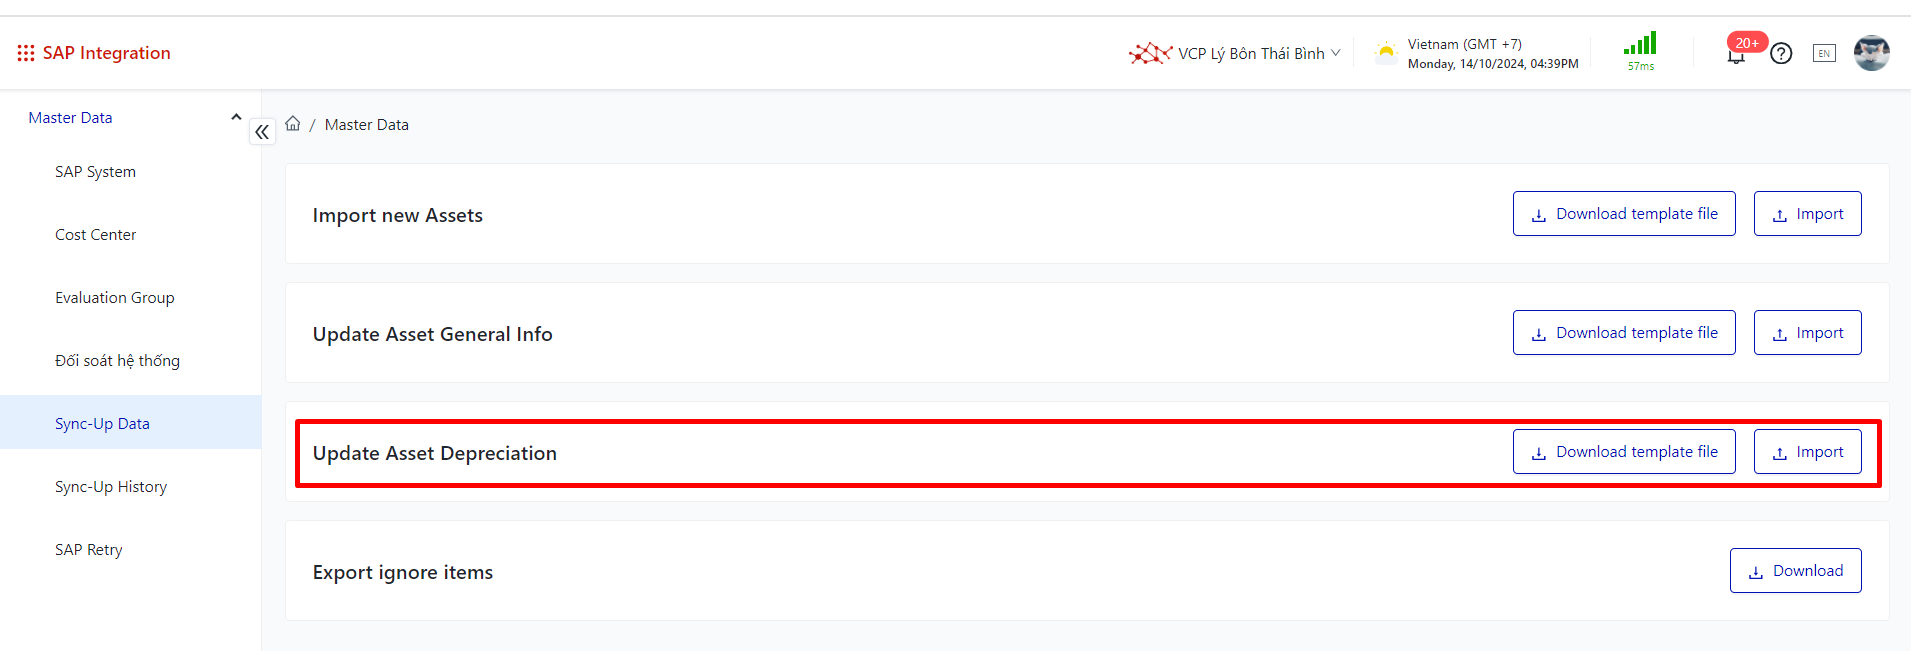
(3) Update Asset Depreciation:
For assets that are already on both SAP and CiAMS, when it is necessary to update the depreciation information of the asset, users should select "Update Asset Depreciation"
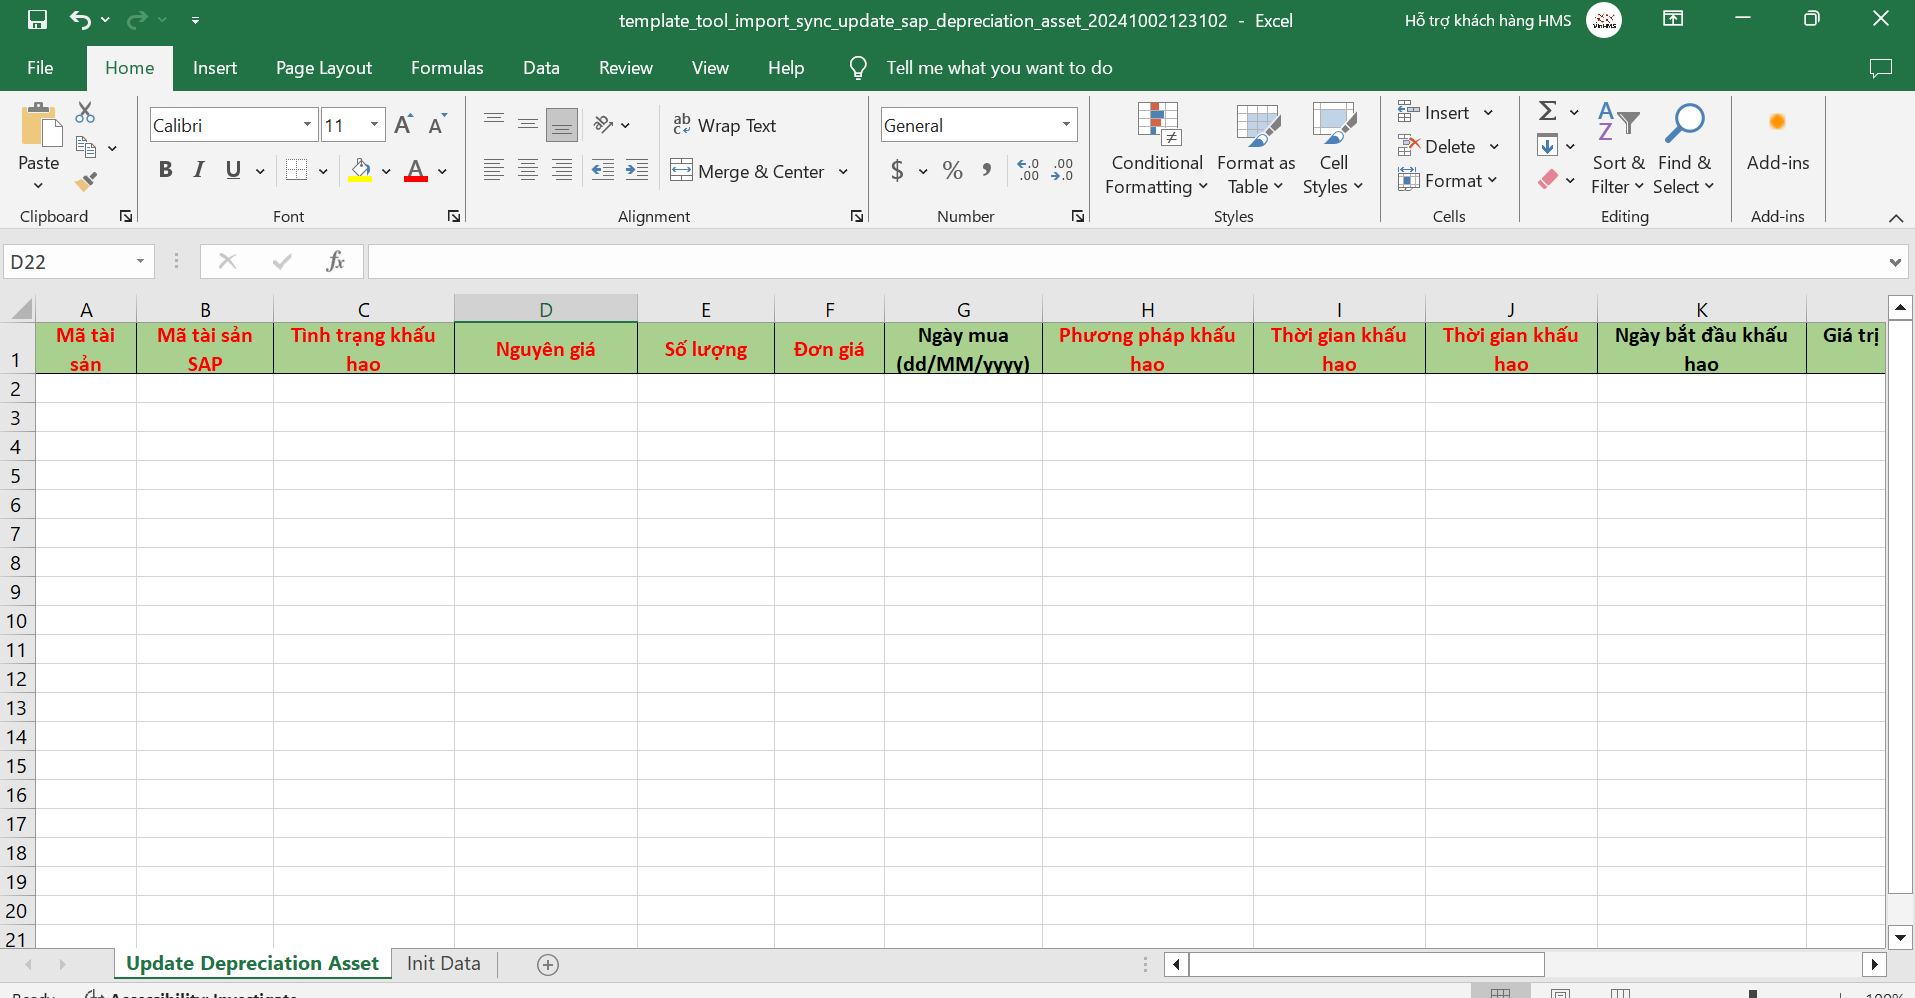
Click on "Download Template File," then fill in all the required information in the sample template. Note: all fields marked in red must be completed.
After filling in the information in the sample file, users should select "Import" to import it into the system. Note: after importing, the system will send a notification with the results so that users can easily check for errors and then edit the file for re-import.
(4) Export ignore items:
To export the non-synchronized SAP code, users should click on "Download" then check the notification to download the file.