Skip table of contents

[Eng] Pre check-in

Screen Name

Pre Check-in

Summary

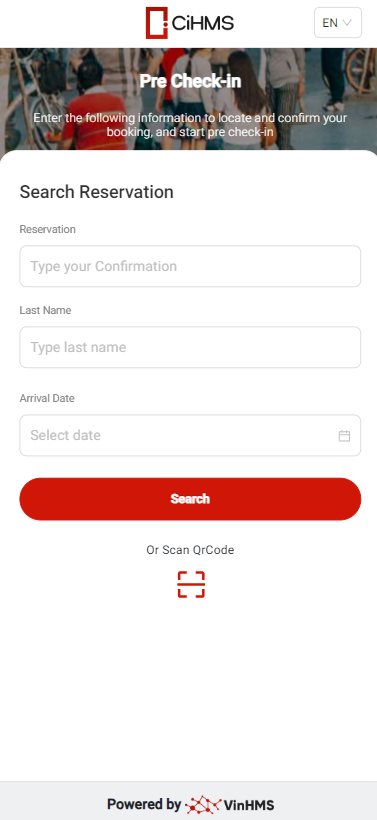
The screen allows pre check-in

Screen

image-20241002-081844.png

Fields Description

  1. Pre check-in process:

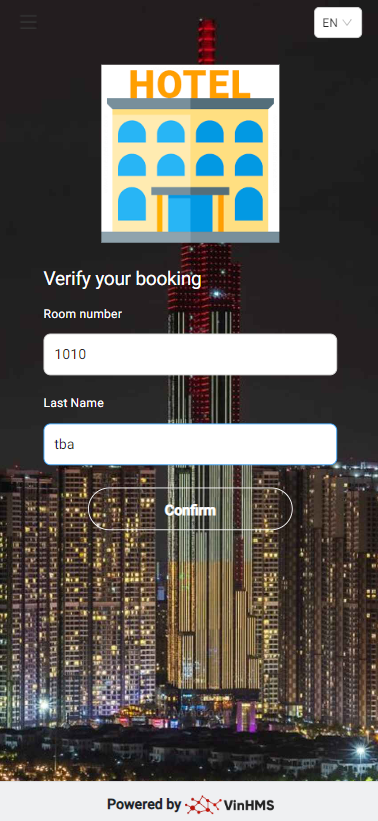
Option 1: On the Pre Check-in screen, fill in the information to search for the booking

  • Reservation (Confirmation number)

  • Last Name

  • Arrival Date

→ Click Search

image-20250110-235336.png

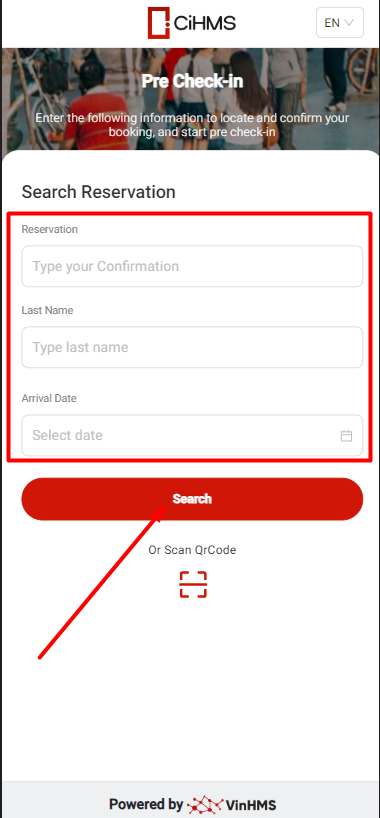
→ Enter the booking email → Select "Get Code" → The code will be sent to the booking email.

→ Check the booking information, Arrival/Departure → Select "Confirm

Option 2: You can use the QR code by selecting "Scan QR Code" and using the QR code provided by the Front Office (FO)

image-20250110-235448.png
  1. Continue by selecting the main guest to update the guest information

  • The user selects the arrow to update the guest information (below)

image-20250111-000306.png
  • After updating all the information, a green checkmark will appear

  • Click Continue to reach the successful Pre Check-in screen

image-20250111-000348.png

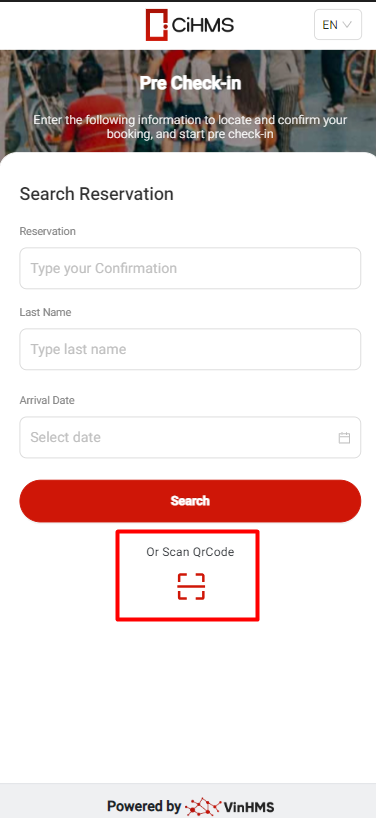
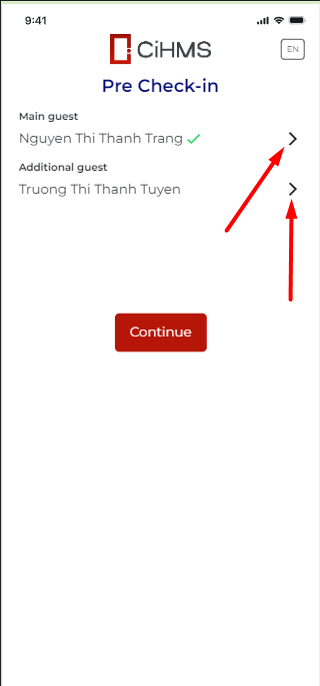
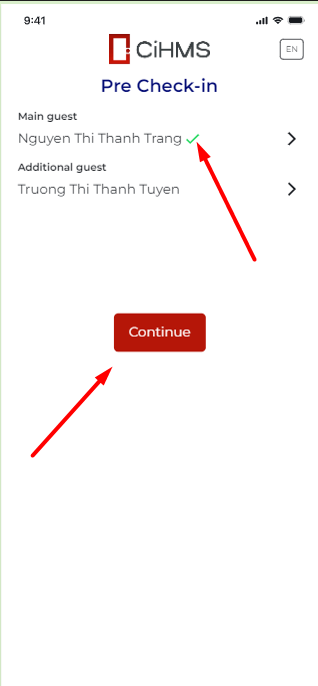
⚠️ Note: If no guest information has been updated, the Continue button will be disabled

  1. Update guest information

  • Upload the ID document image to automatically fill in the fields for identify number, last name, first name, and date of birth

image-20240112-075707.png
  • Enroll face

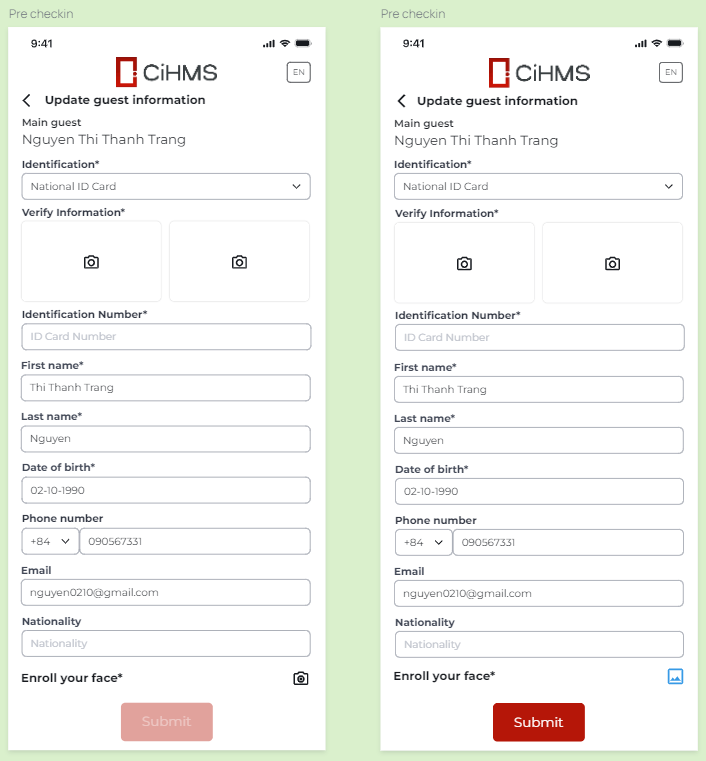
Select the camera icon to open the camera and capture the face

image-20250111-000941.png

If the photo has been taken, the icon on the right will appear. Click on it to view the photo again

image-20250111-001028.png

Select "Take another photo" to open the camera and retake the photo

image-20250111-001125.png

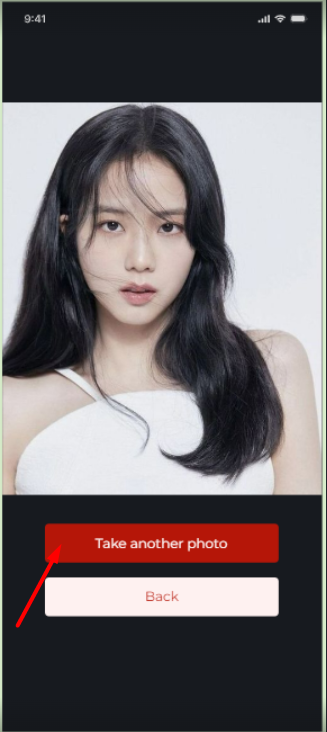
After clicking "Submit," you will return to the Pre Check-in screen
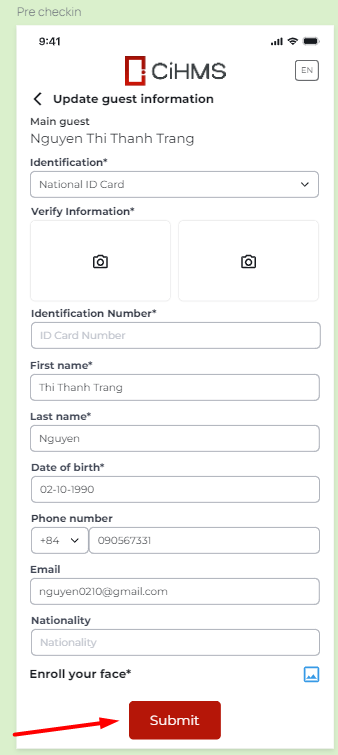
image-20250111-001215.png

Example:

  • When Truong Thi Thanh Tuyen scans the QR code to access Pre check-in, they will see that Nguyen Thi Thanh Trang has successfully completed pre check-in.

  • Truong Thi Thanh Tuyen proceeds with pre check-in as usual

image-20240112-082529.png
  1. Center screen (Welcome guest)

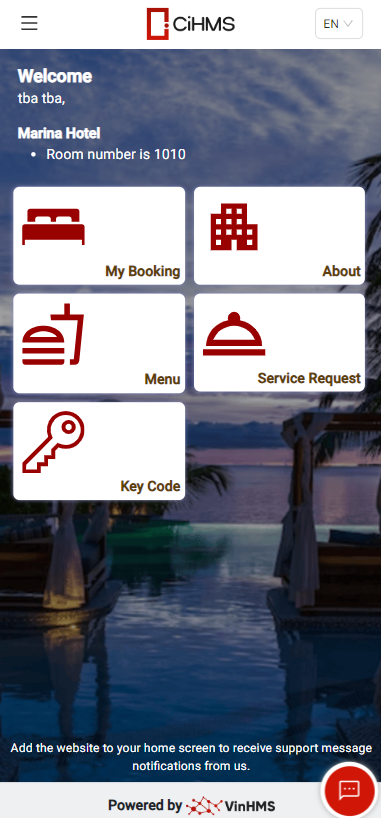
Guests who have completed pre check-in but have not checked in will not see the room number.

image-20240116-085941.png
  1. Check-in

After pre check-in, the Front Office (FO) will provide the room number to the guest, and the guest will proceed with check-in:

  • Enter the room number and last name.

  • Select Confirm.

image-20241003-025114.png
  • After confirming the correct room number and last name, the Welcome screen will appear, displaying the information.

image-20241003-025533.png

Remarks

  1. Guests performing Pre Check-in: Scan the QR code to follow the usual process.

  2. Guests who have not performed Pre Check-in: Scan the QR code, verify the confirmation number and last name, and directly go to the Home screen.

  3. Guests scanning the QR code at the restaurant table:

    • If Pre Check-in was done previously: Go directly to the Menu.

    • If the guest did not Pre Check-in: Confirm the booking code and last name, then proceed to the Menu.

JavaScript errors detected

Please note, these errors can depend on your browser setup.

If this problem persists, please contact our support.