Skip table of contents

[Eng] Scan OCR for guest profile

Screen Name

Take a photo of your identity document

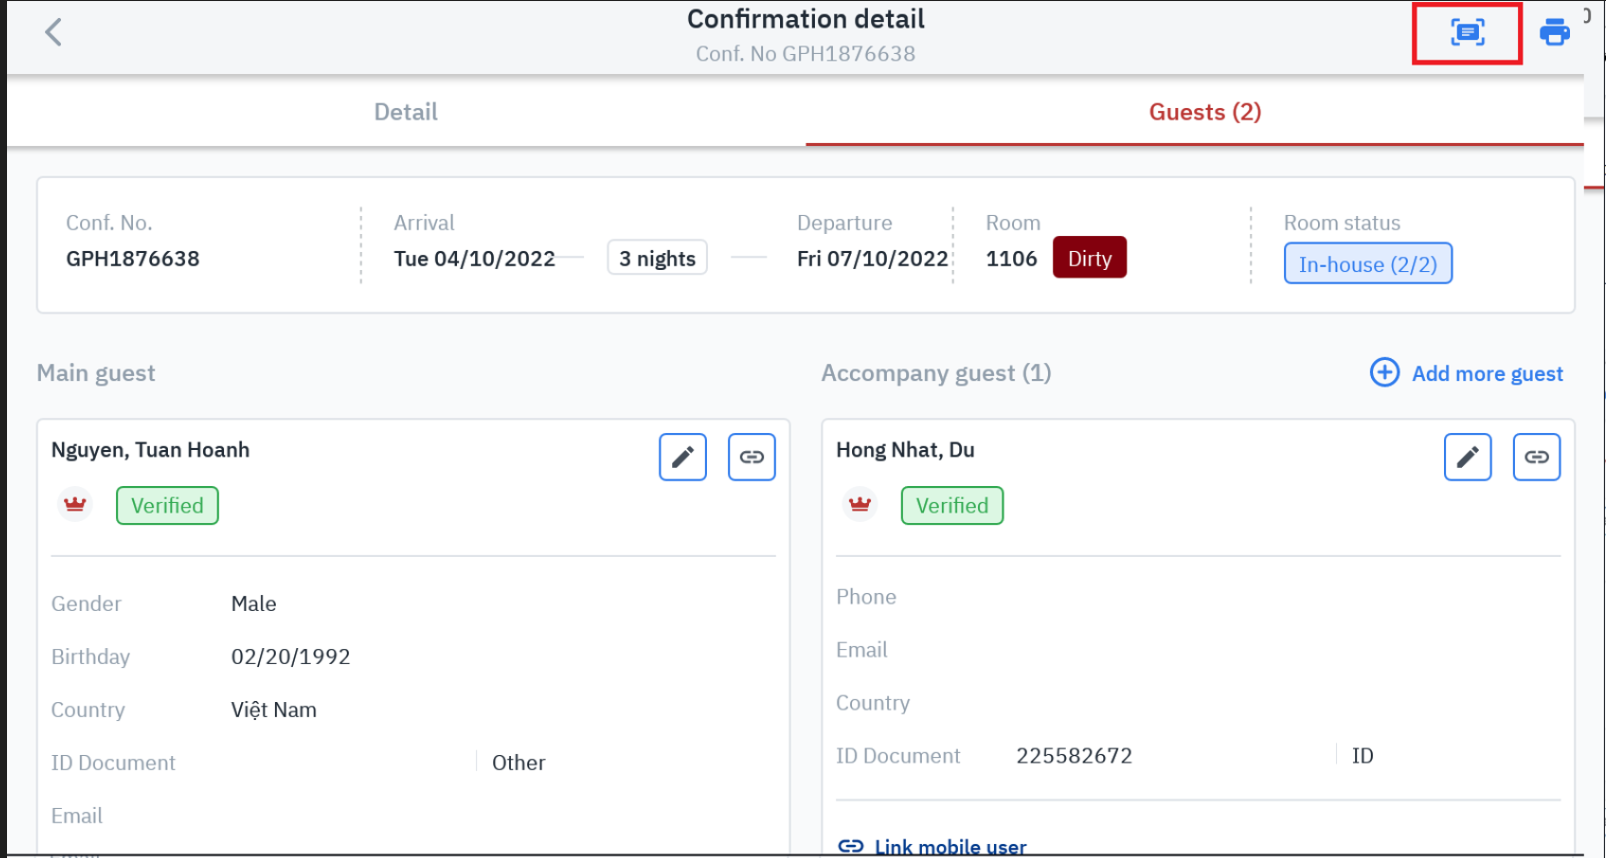
Log in – Reservation – At any Tab - Click on Conf. No - Click on the Scan icon

Summary

Allows Scanning of identification documents and automatic handwriting recognition to update guest records

  • Supports up to 8 records in 1 scan

  • Support all documents of ID card, CCCD, BLX, PASSPORT in 1 scan

Screen

  • For Passport and Birth Certificate, only 1 side needs to be scanned. For ID card or CCCD, if you want to scan the back side (to get the address and issue date), you must ensure to keep the correct position of the document.

  • Does not support scanning to get information for birth certificates, only supports capturing and storing in customer records

Steps

  1. From the Staff App, Find a Reservation

  2. From the detailed booking screen, click on the Scan icon to start scanning your ID

  3. Proceed to take a photo of the front of the identification documents, click on the circle icon as shown below to take a photo

4. After capturing the front face, the system will display a message with 3 options as shown below:

  • Take a back view: Click this button to take a photo of the back side

  • Take a photo: Click this button to take a photo

  • Finish: Click this button to complete the capture for the system to analyze and recognize the handwriting

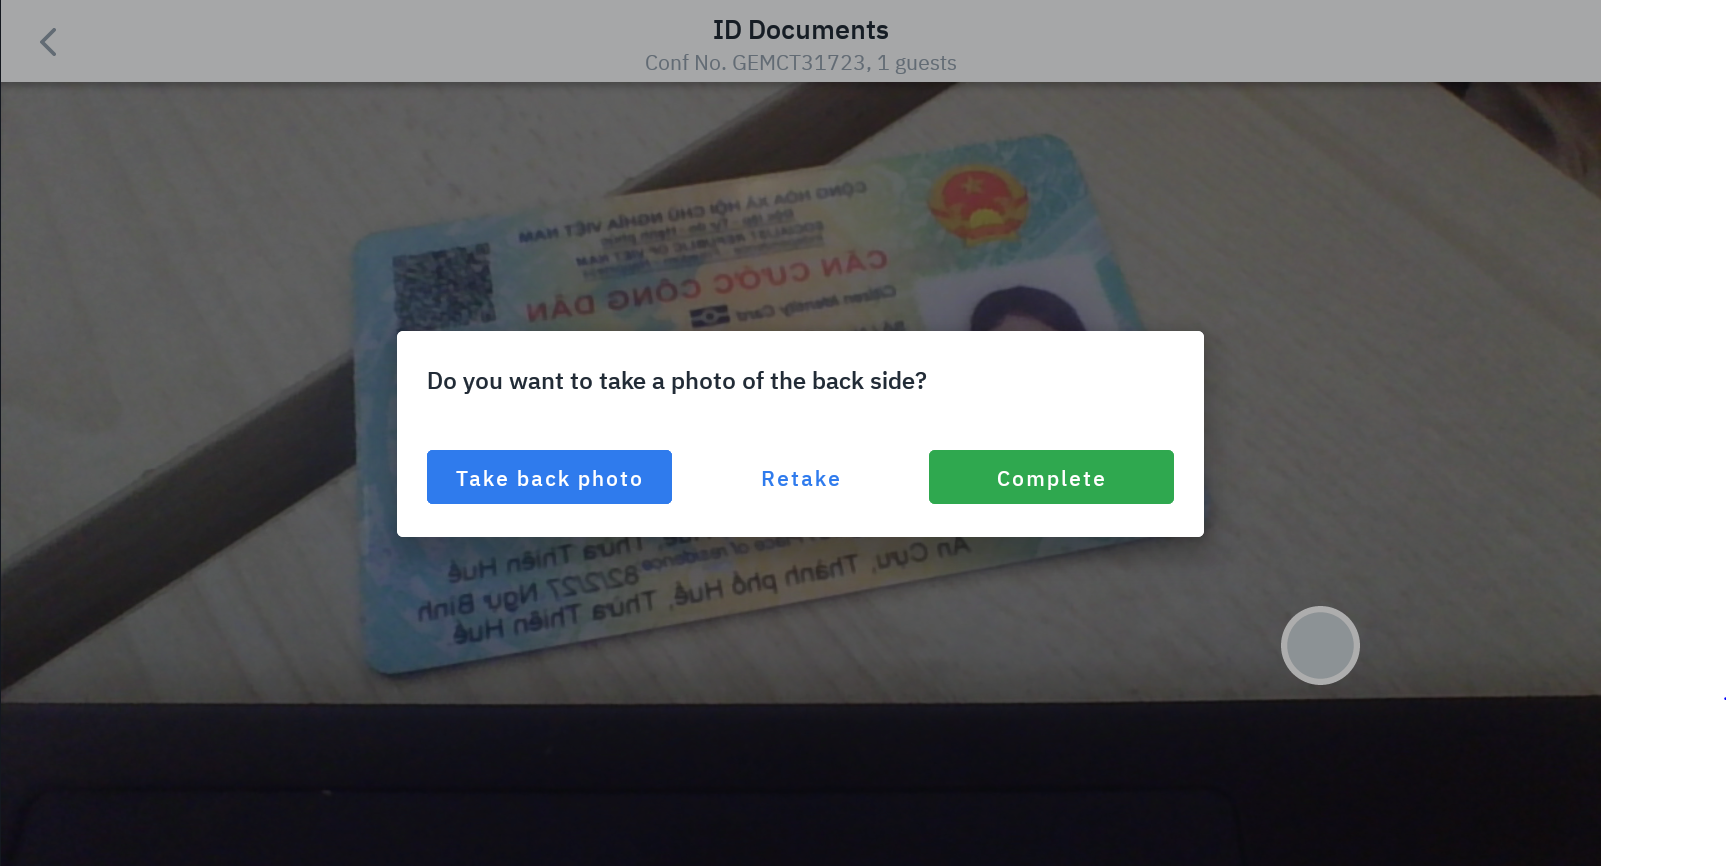
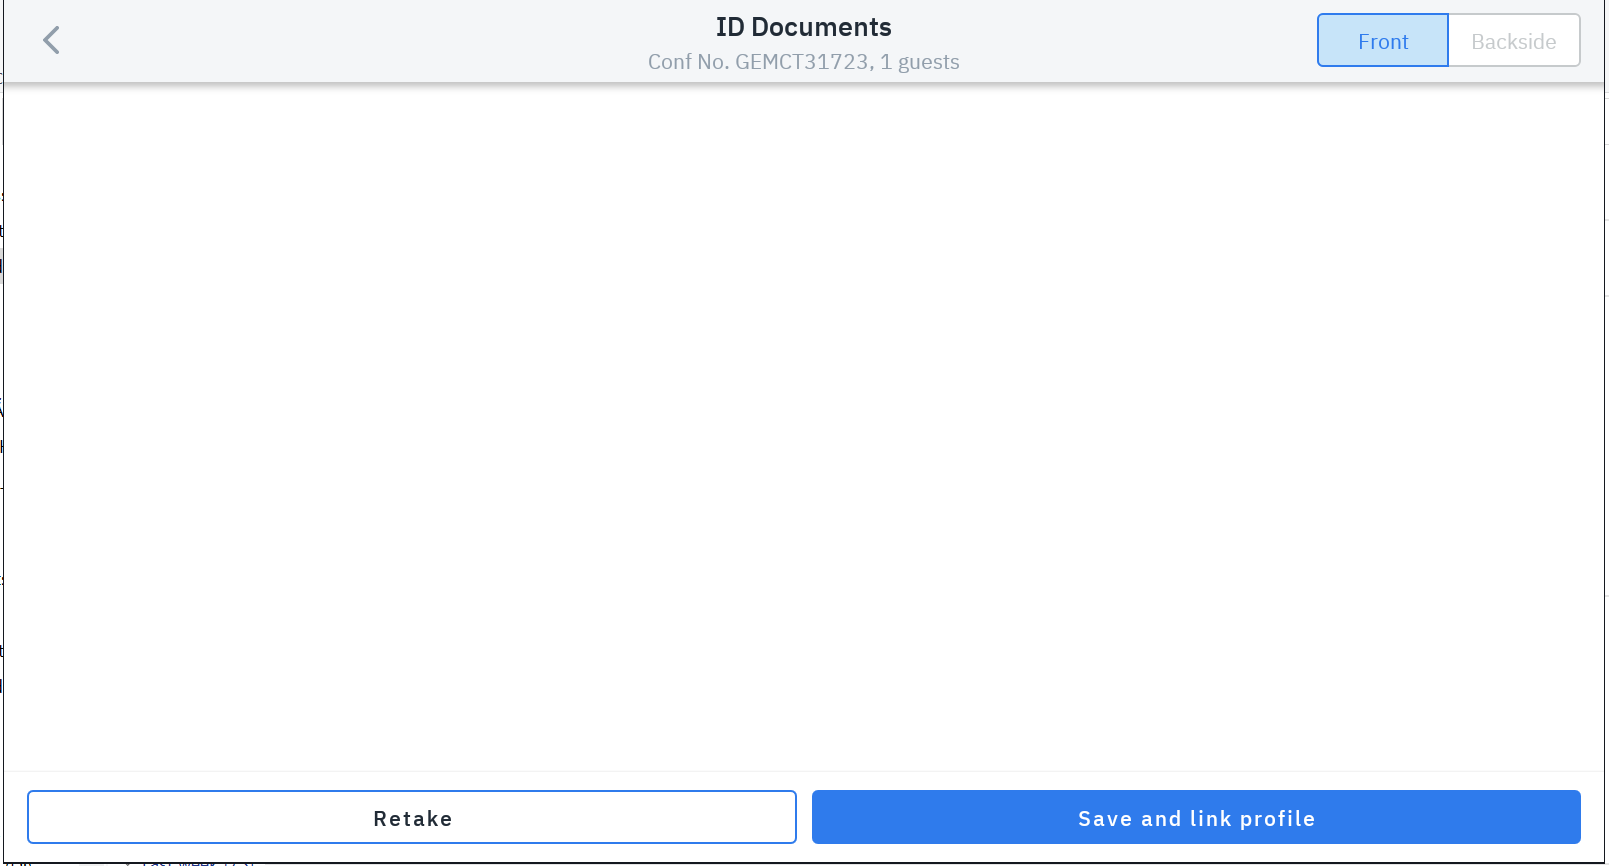
5. The shooting results screen will display the captured images and detected information. On this screen, the following options are available:

  • (1) & (2) Select the correct guest name in the drop-down list to associate with the captured image.

  • (3) If the number of guests on the booking is less than the number of photos, the system will display as "Profile not set up", tick New so that the system automatically creates a new profile and attaches it to the booking.

  • (4) Click the Save button and link the profile so that the system saves the information to the guest profile.

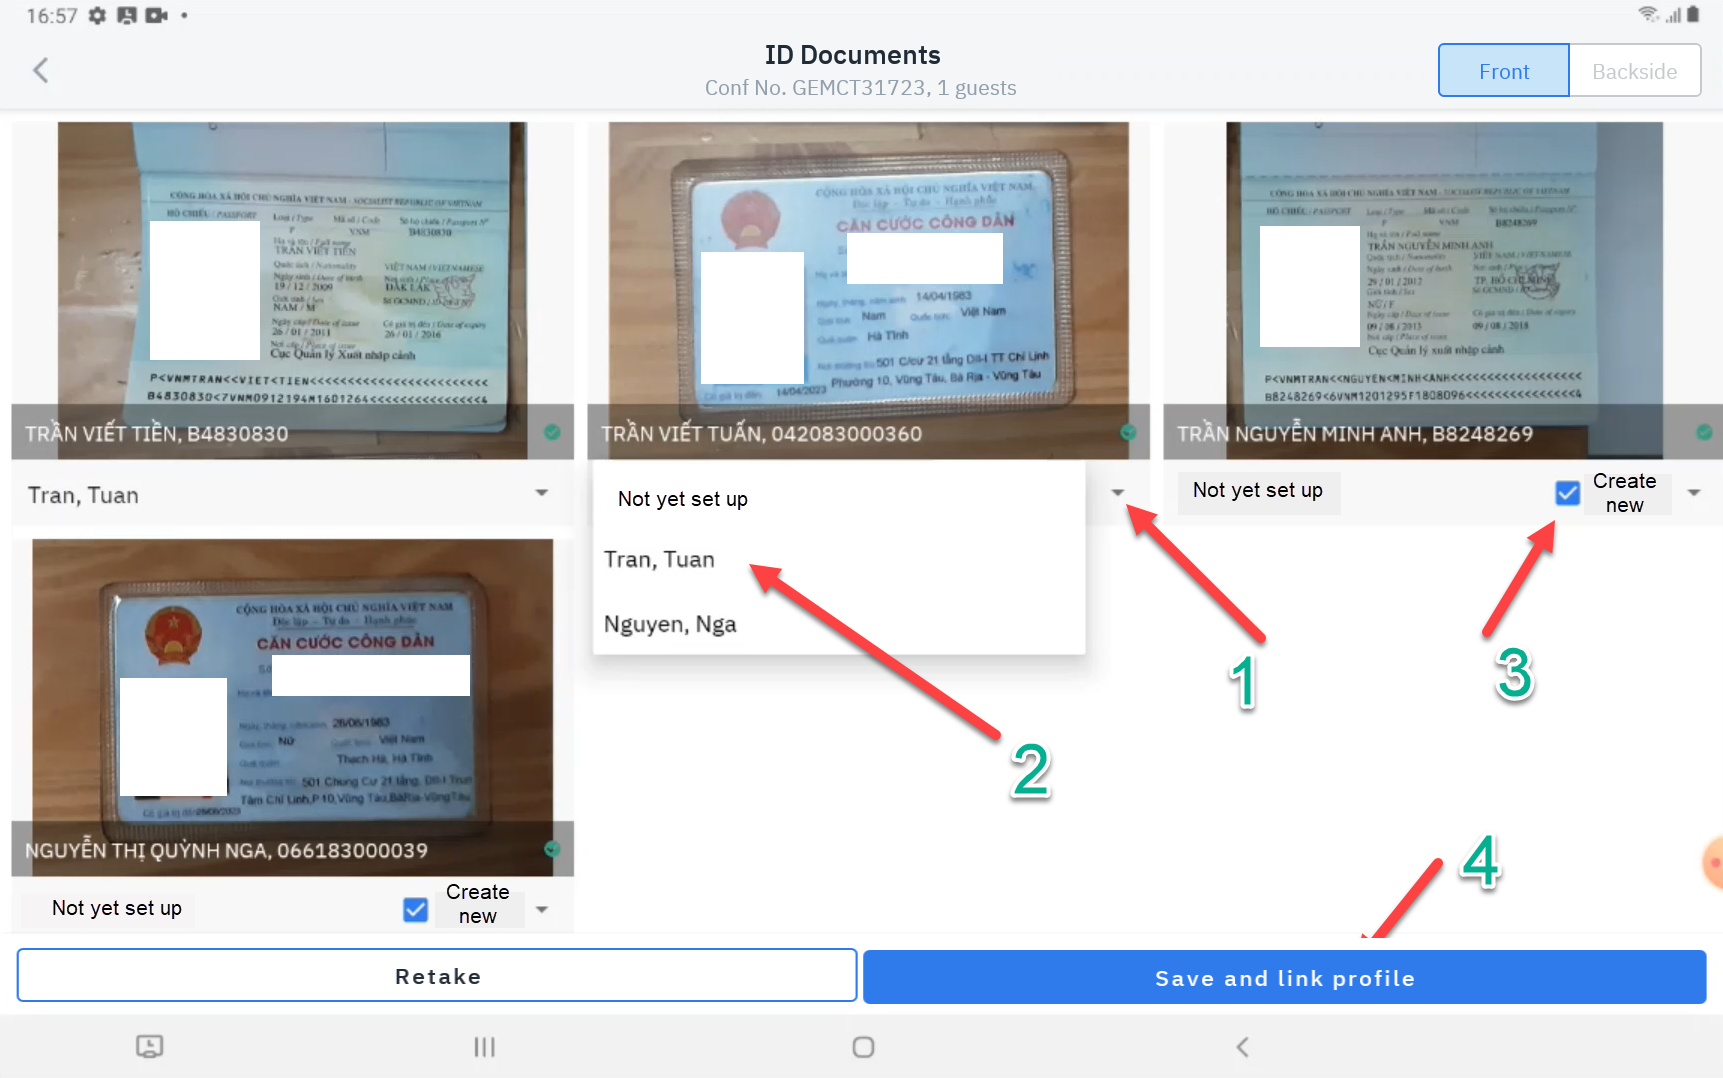
6. Guest profile information has been automatically updated by the system. Click on the Pencil icon to go to the guest information edit screen to check or edit the information.

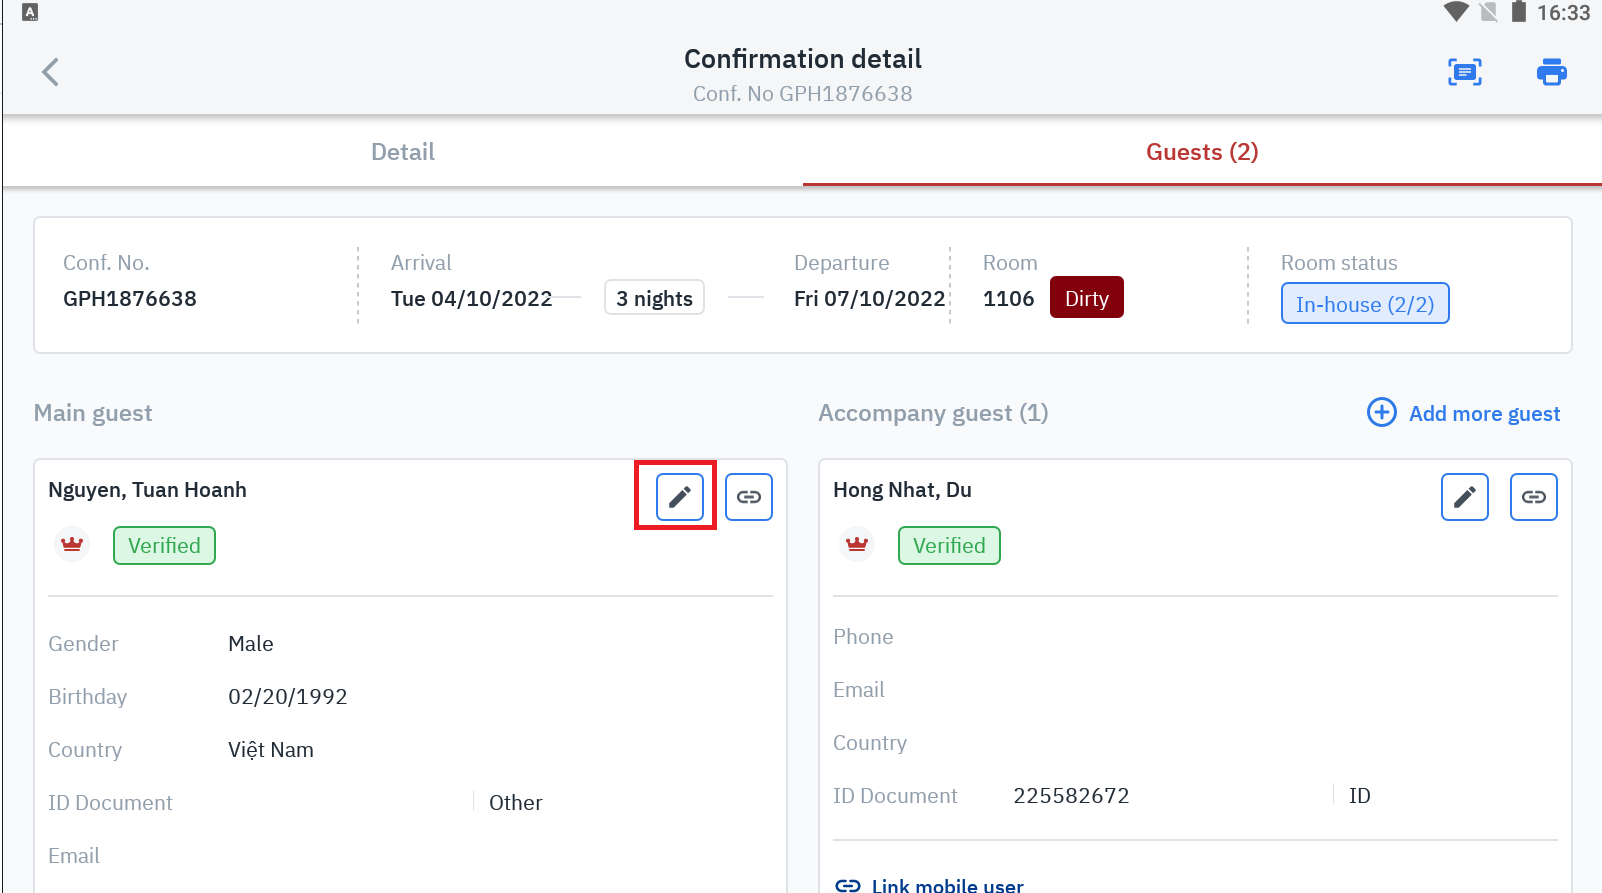
7. At the guest information editing screen, make corrections if the information is incorrect (the system may recognize the wrong characters if the quality of the ID is not good) or add other information.

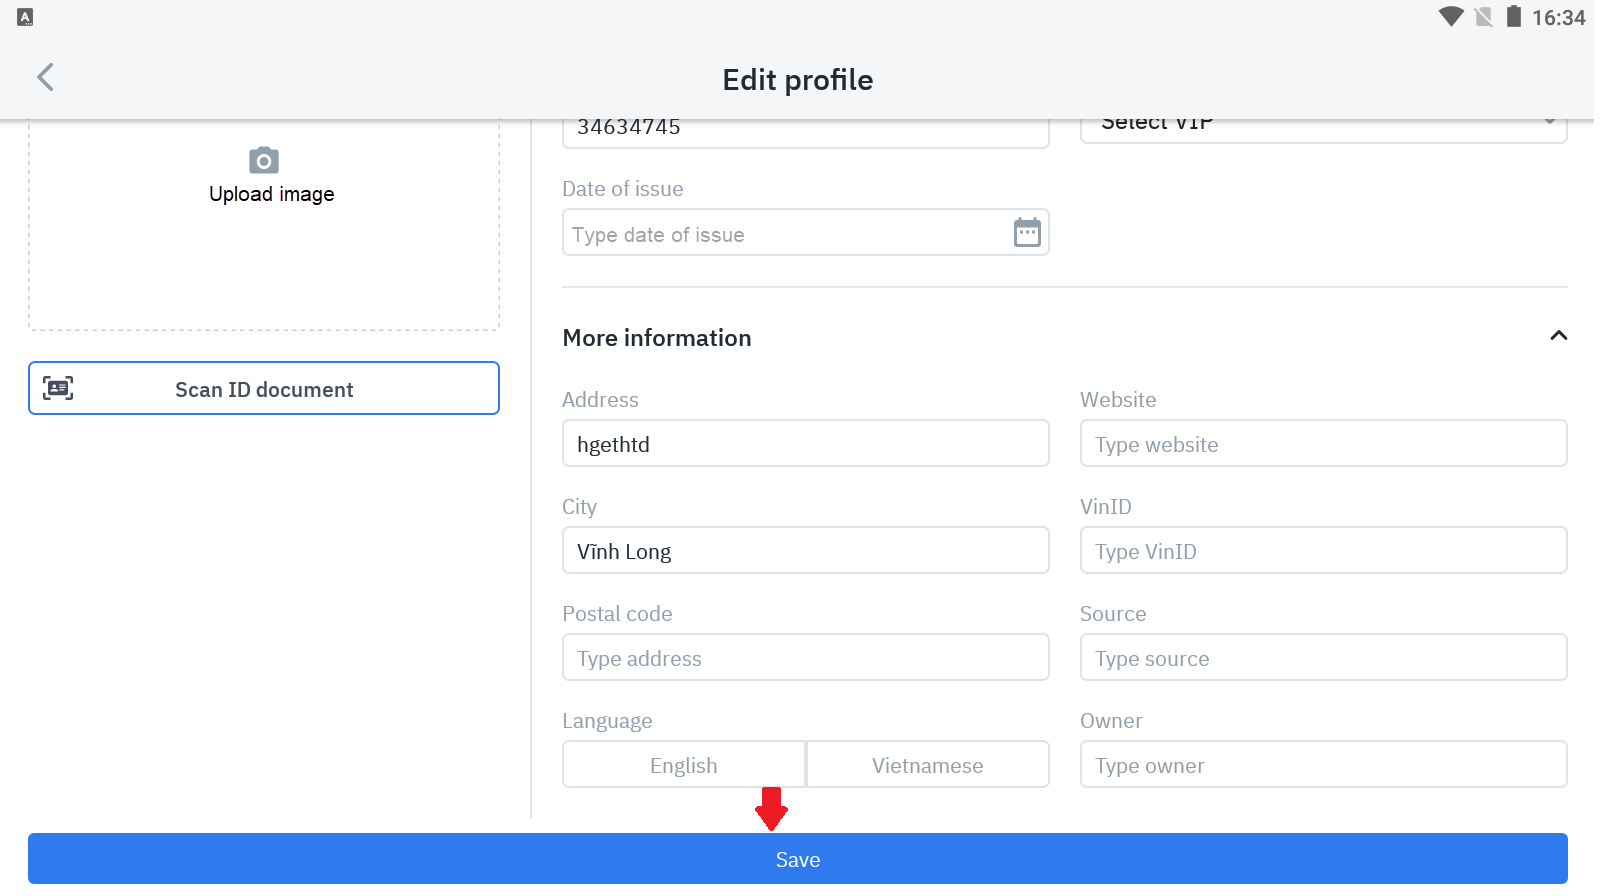
8. After editing and checking is done, Click the Save information button to save the guest profile information.

Remarks

  • If you are a guest who already has a profile on the system, the system will automatically find the profile by the identification number and link it to the booking.

  • If you are a new guest who does not have a profile on the system, the system will automatically create a new profile and link it to the booking.

  • The system does not yet support saving multiple types of documents for one profile. If different documents are taken, the system considers a new customer

  • System (recommended) Samsung Galaxy Tab A8 8" T295 (2019): Camera resolution 8MP or higher

  • The device needs to be installed/upgraded to apk version  Version 2.2.2 (2106011515) or later.

JavaScript errors detected

Please note, these errors can depend on your browser setup.

If this problem persists, please contact our support.