Screen Name
|
|---|
User
|
Open Link
|
Log in >> Admin Setting >> User Configurations >> User >> Add User
|
Summary
|
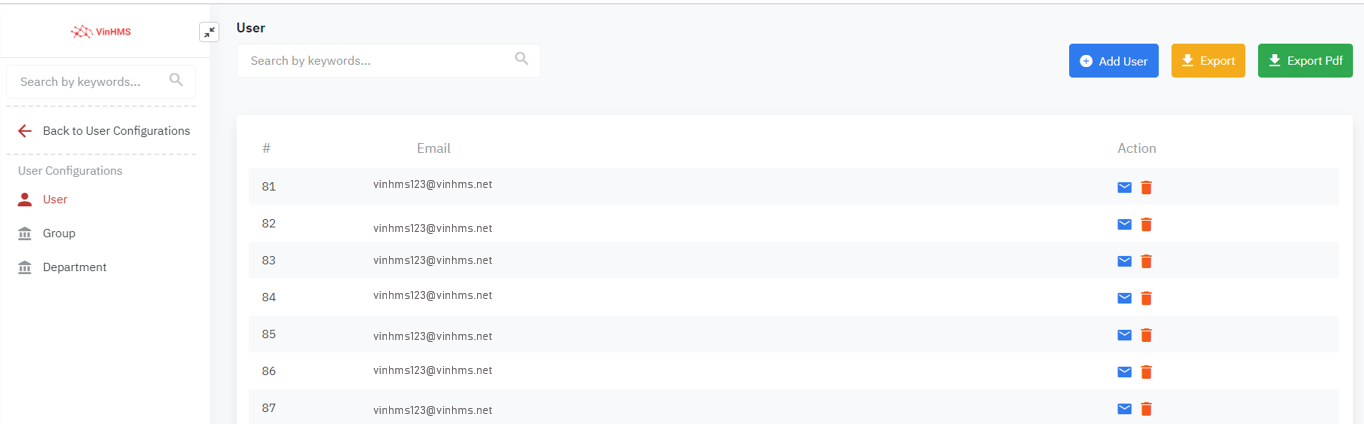
The screen allows you to create the users and manage the users' permission.
|
Screen
|
|
Fields Description
|
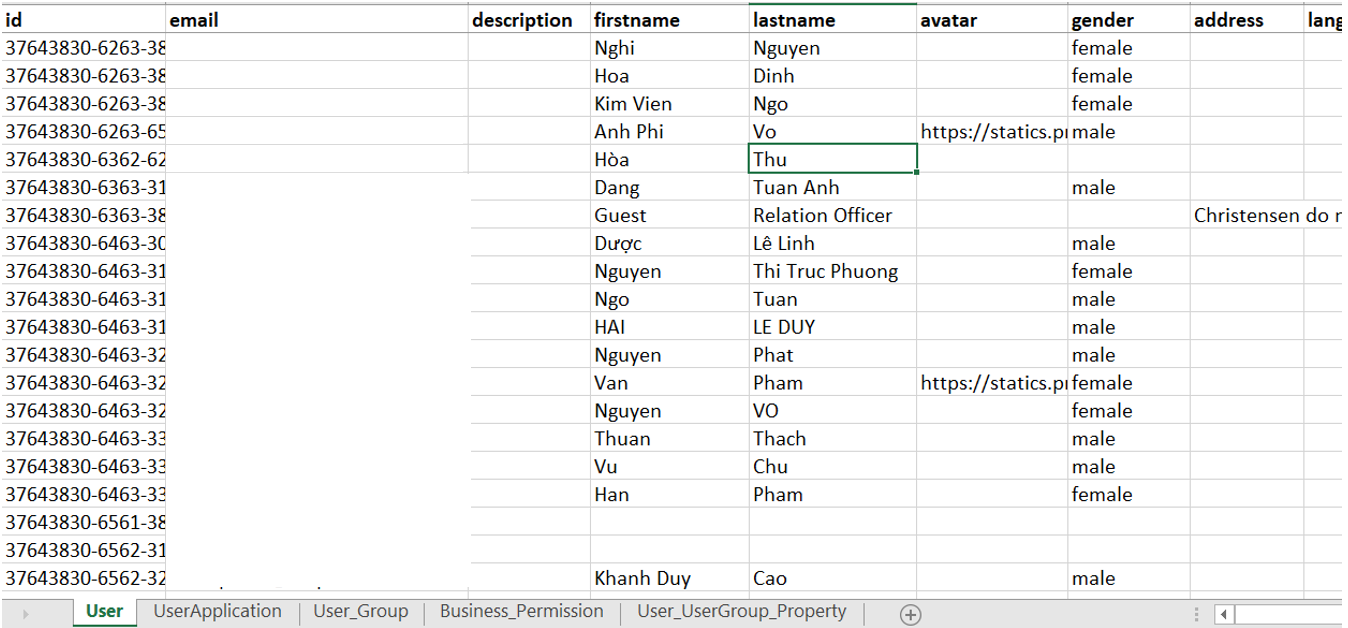
o Export PDF: Export the list of users with the details to PDF file 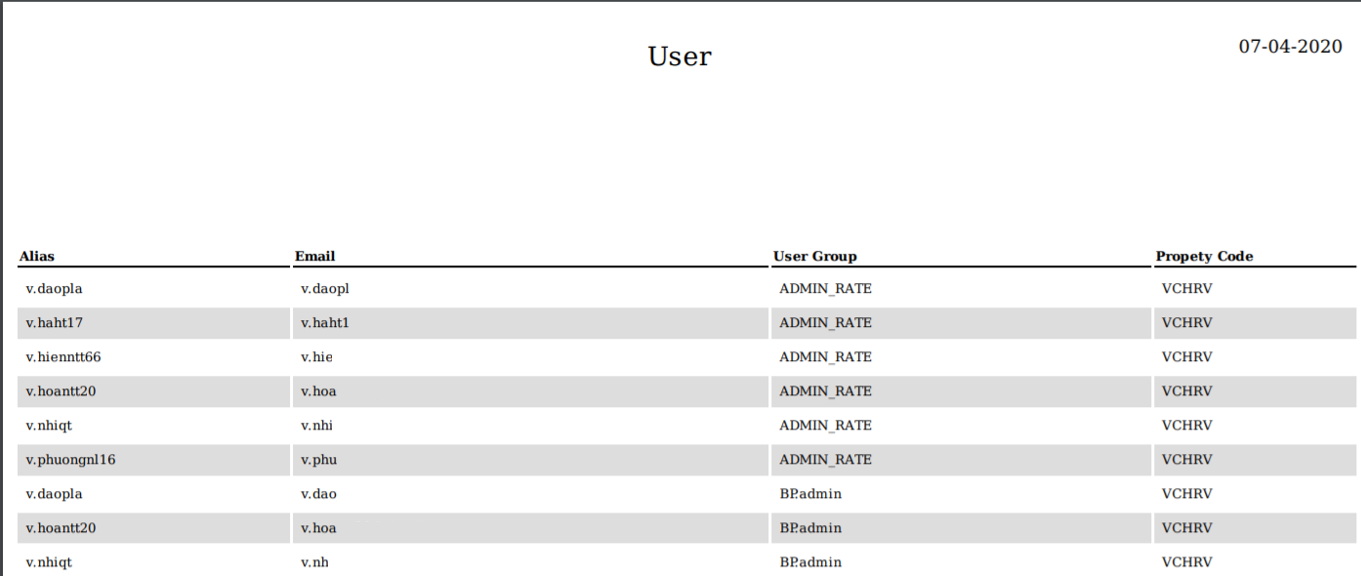
|
Add a new user
|
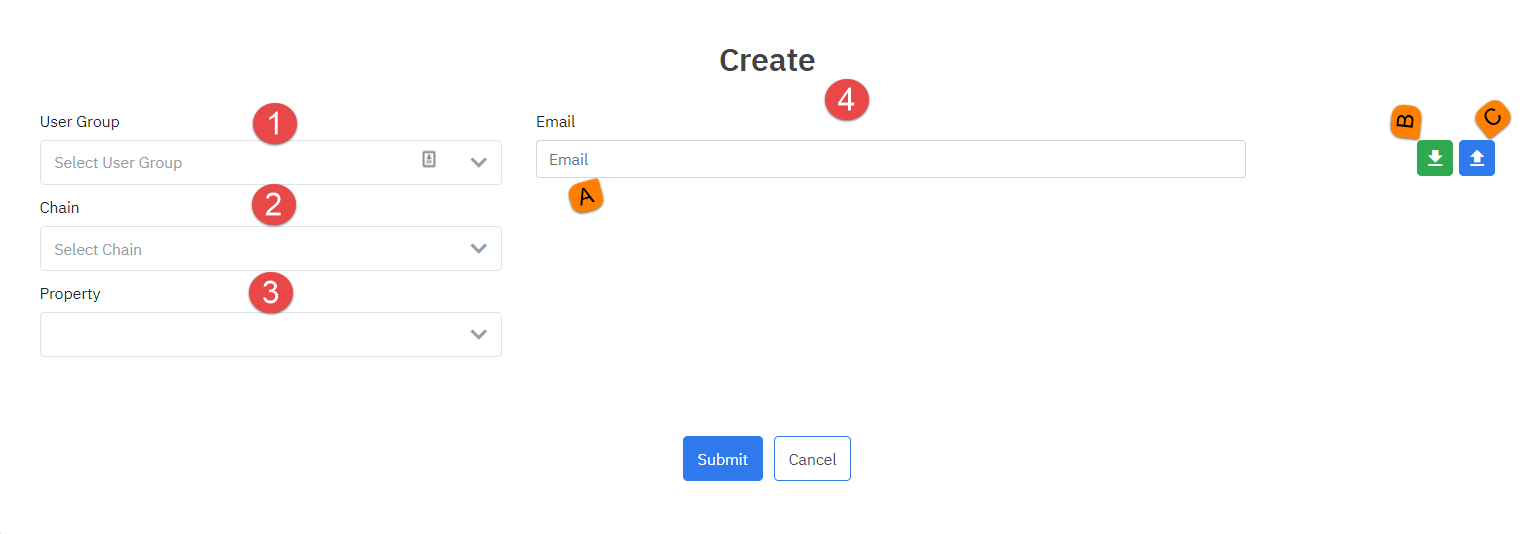
Step 1. User Group: Select the User Group that you want to assign the user. See [Eng] Group for details. Step 2. Chain: Select the Chain. See [Eng] Chains for details. Step 3. Property: Select the list of Properties. Step 4. Add the email of user. You can follow steps 4.1 or 4.2: 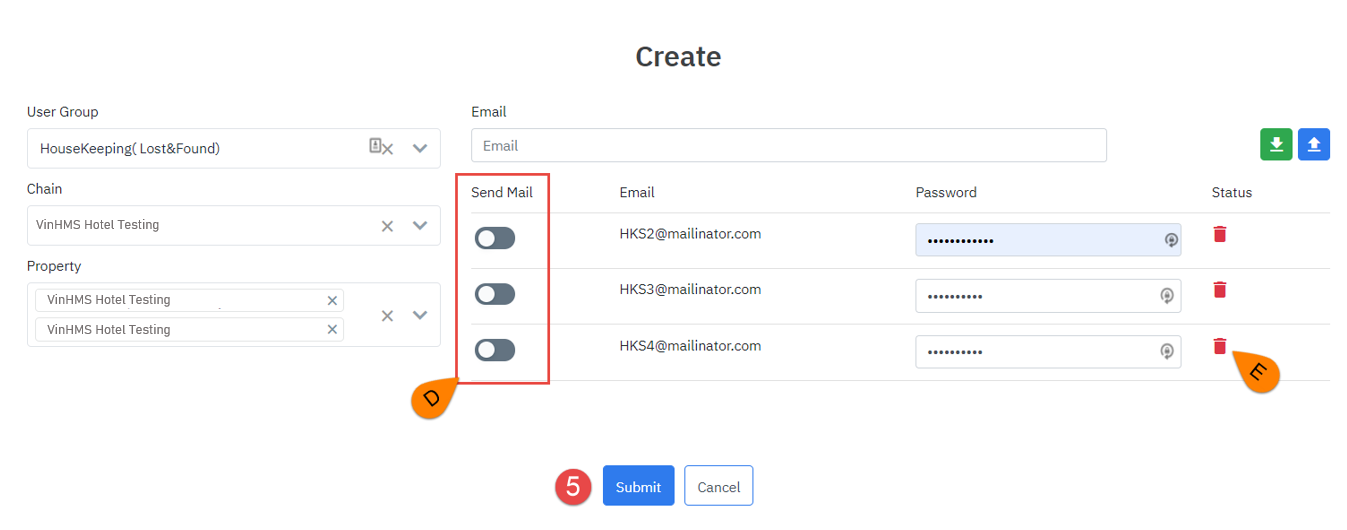
(4.1) A. Directly add the email to the system by entering manually the email on the input field (4.2) B & C. Download the Excel template (B), fill in the email and password in the file >> Select Import (C) to import the Excel file.
Step 5. Select Submit to save the users or Cancel to skip the action. |
View the details of user permission
|
|
After adding the user to the user group, you will see the list of the users below: 
Click on the Email of the user, the system displays the screen below: 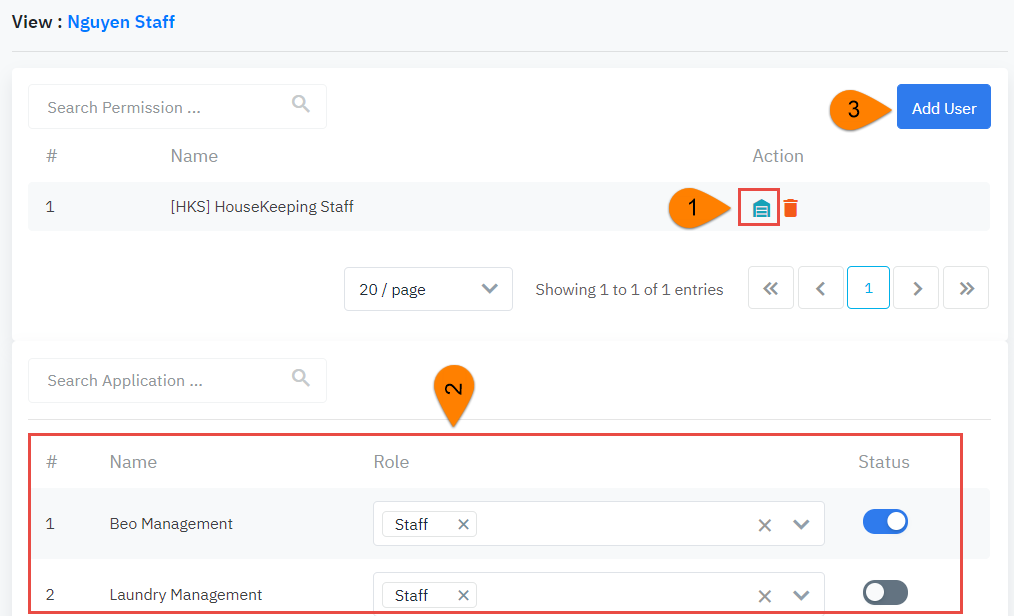
(1) Add the property to the user (2) By default, the permission is activated/inactivated depending on the permission on the user group level. You can adjust for the user. The user can have 2 roles: Staff and Manager 
(3) To add a new user for the group, select “Add User”, and follows the same steps as described above (on the section Add a new user). 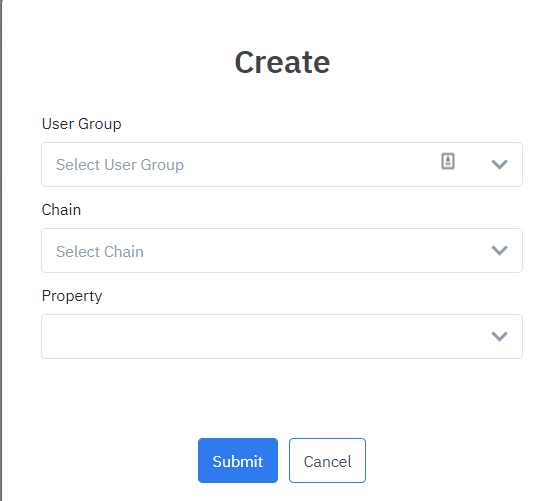
|
Remarks
|
|